
 I did manage to make some special heart shaped treats for the kids though.
 Our treats were far from being fancy, but the kids would disagree. Funny how anything cut into a heart shape immediately becomes super special. I love that about kids!
 Feeling a little guilty about the lack of special treats for the kids I dug-out these crazy glow-in-the-dark shades from the Dollar Store.
 They were more fun then anything I could have planned.
 This little guy couldn’t get enough of his bee mask. And after 30 minutes of being in the dark and tripping over way too many toys I was so over these masks… and so weren’t the girls.
 However, this little boy was still determined to turn off all the lights at any chance he got.
 Thank you Dollar Store for such cheap treats and for making our Valentine’s Day more special!
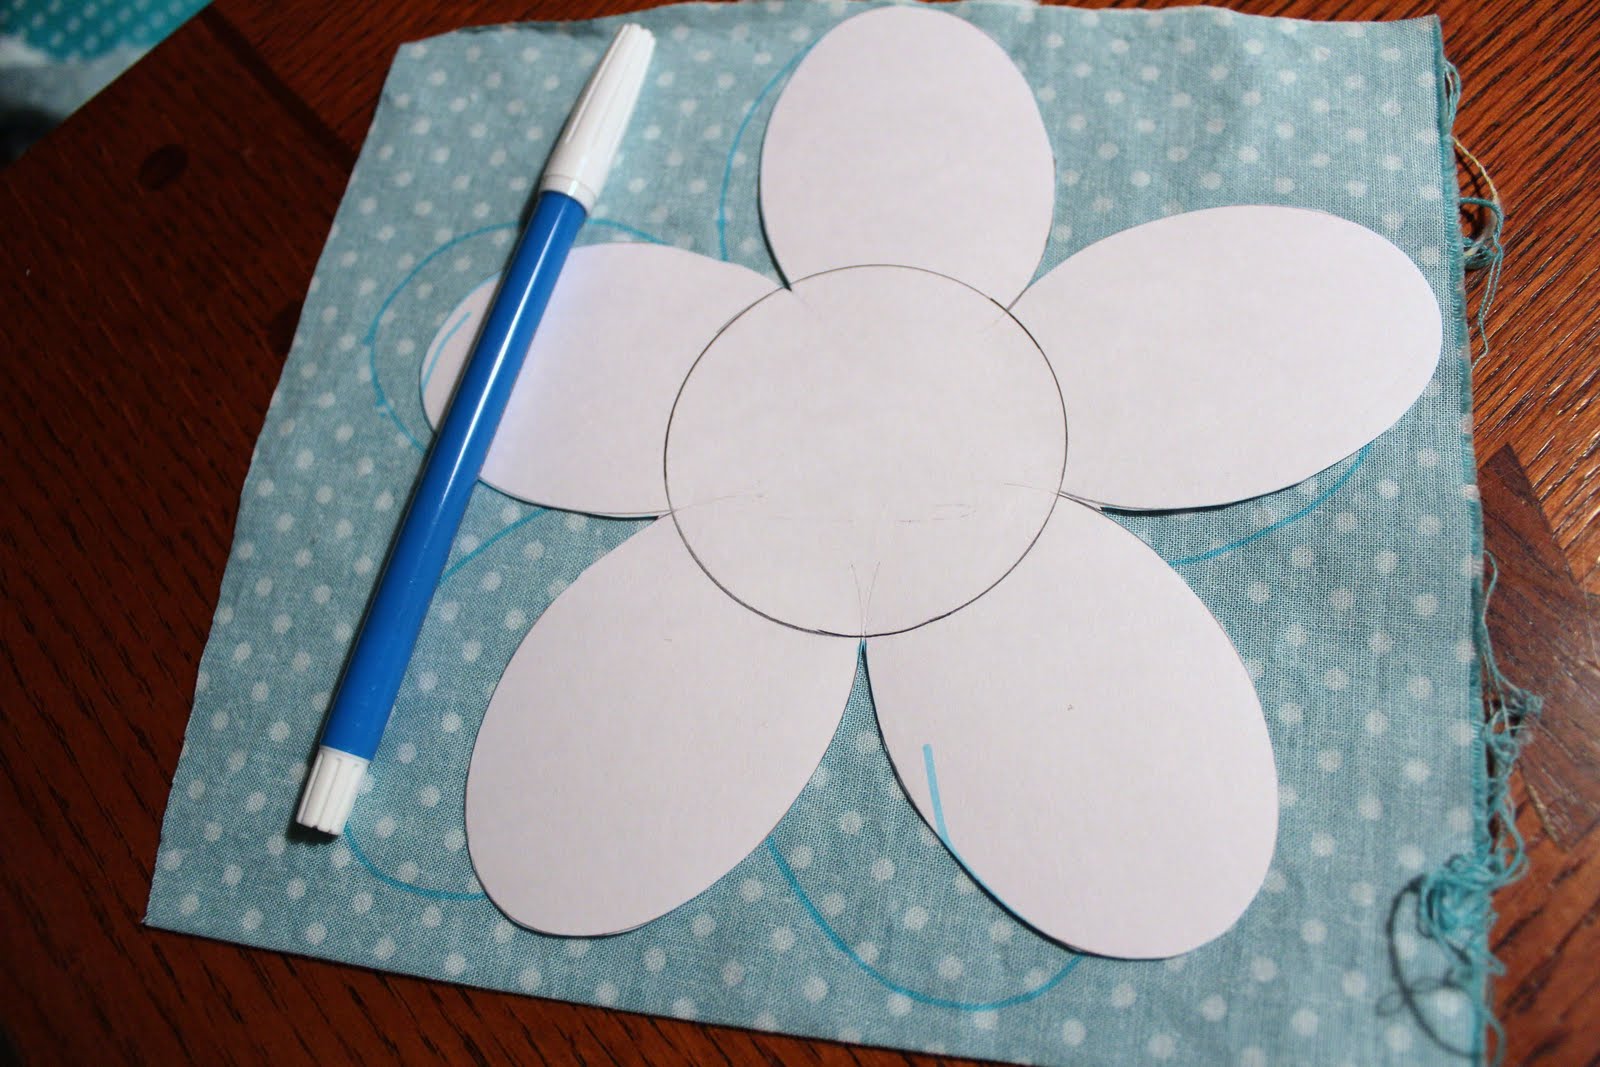
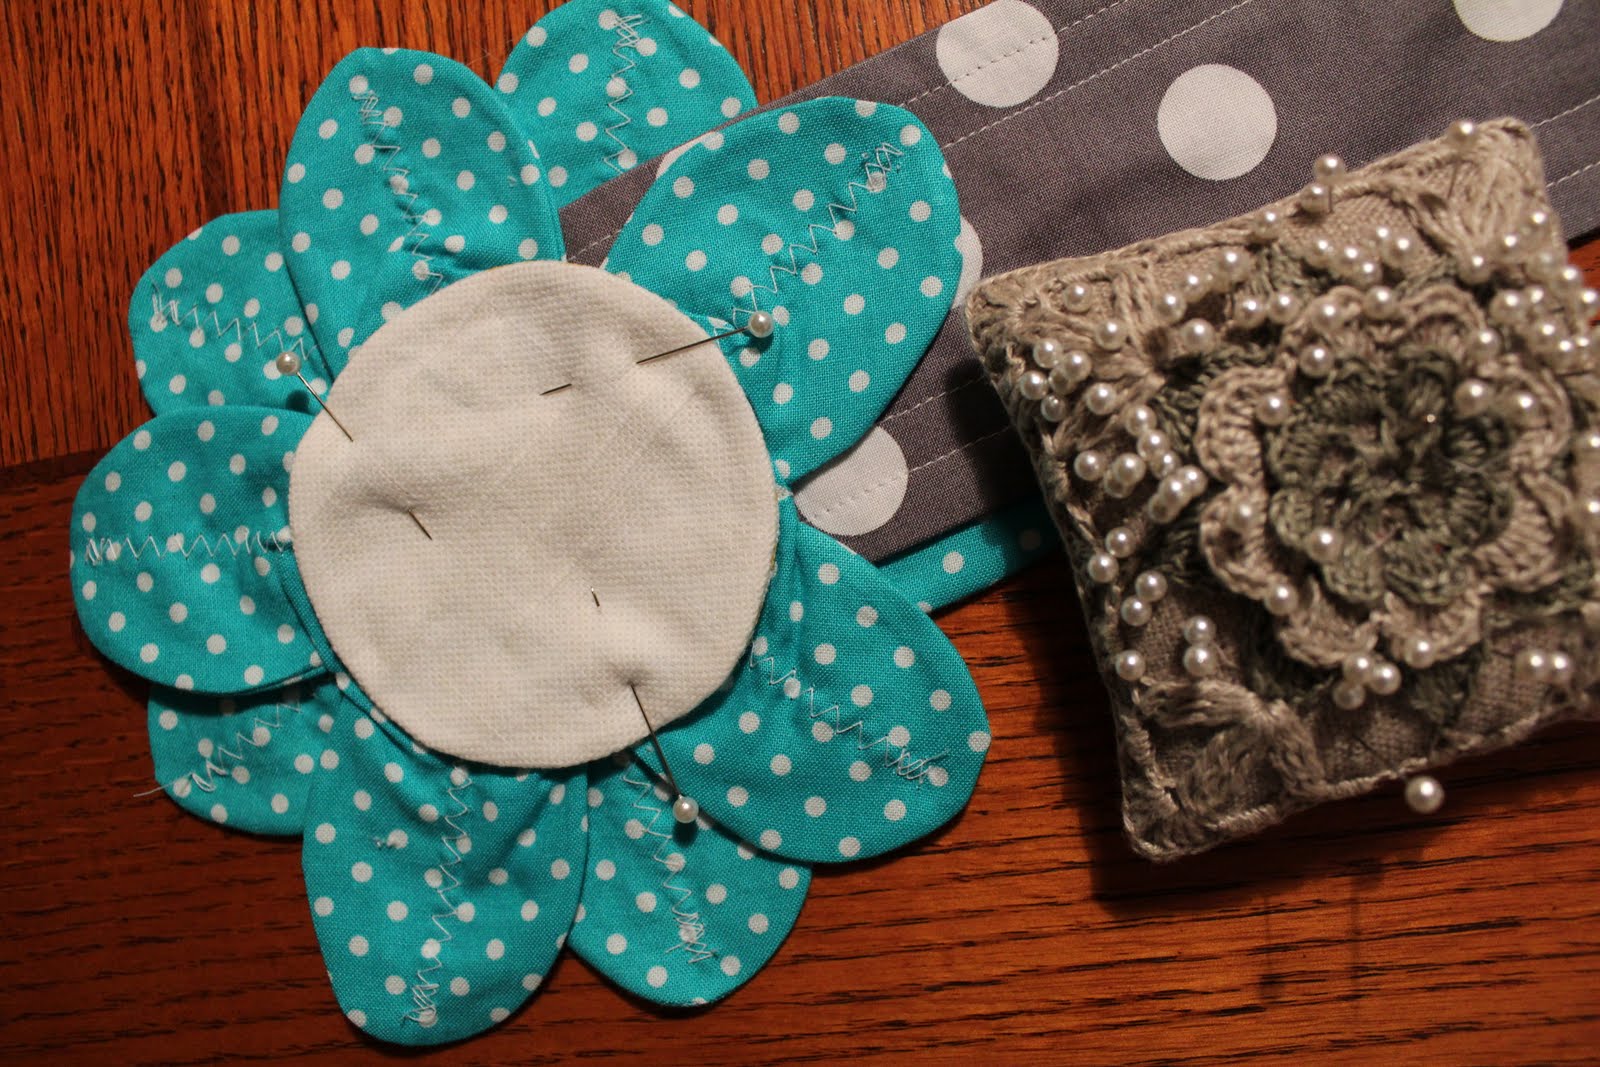
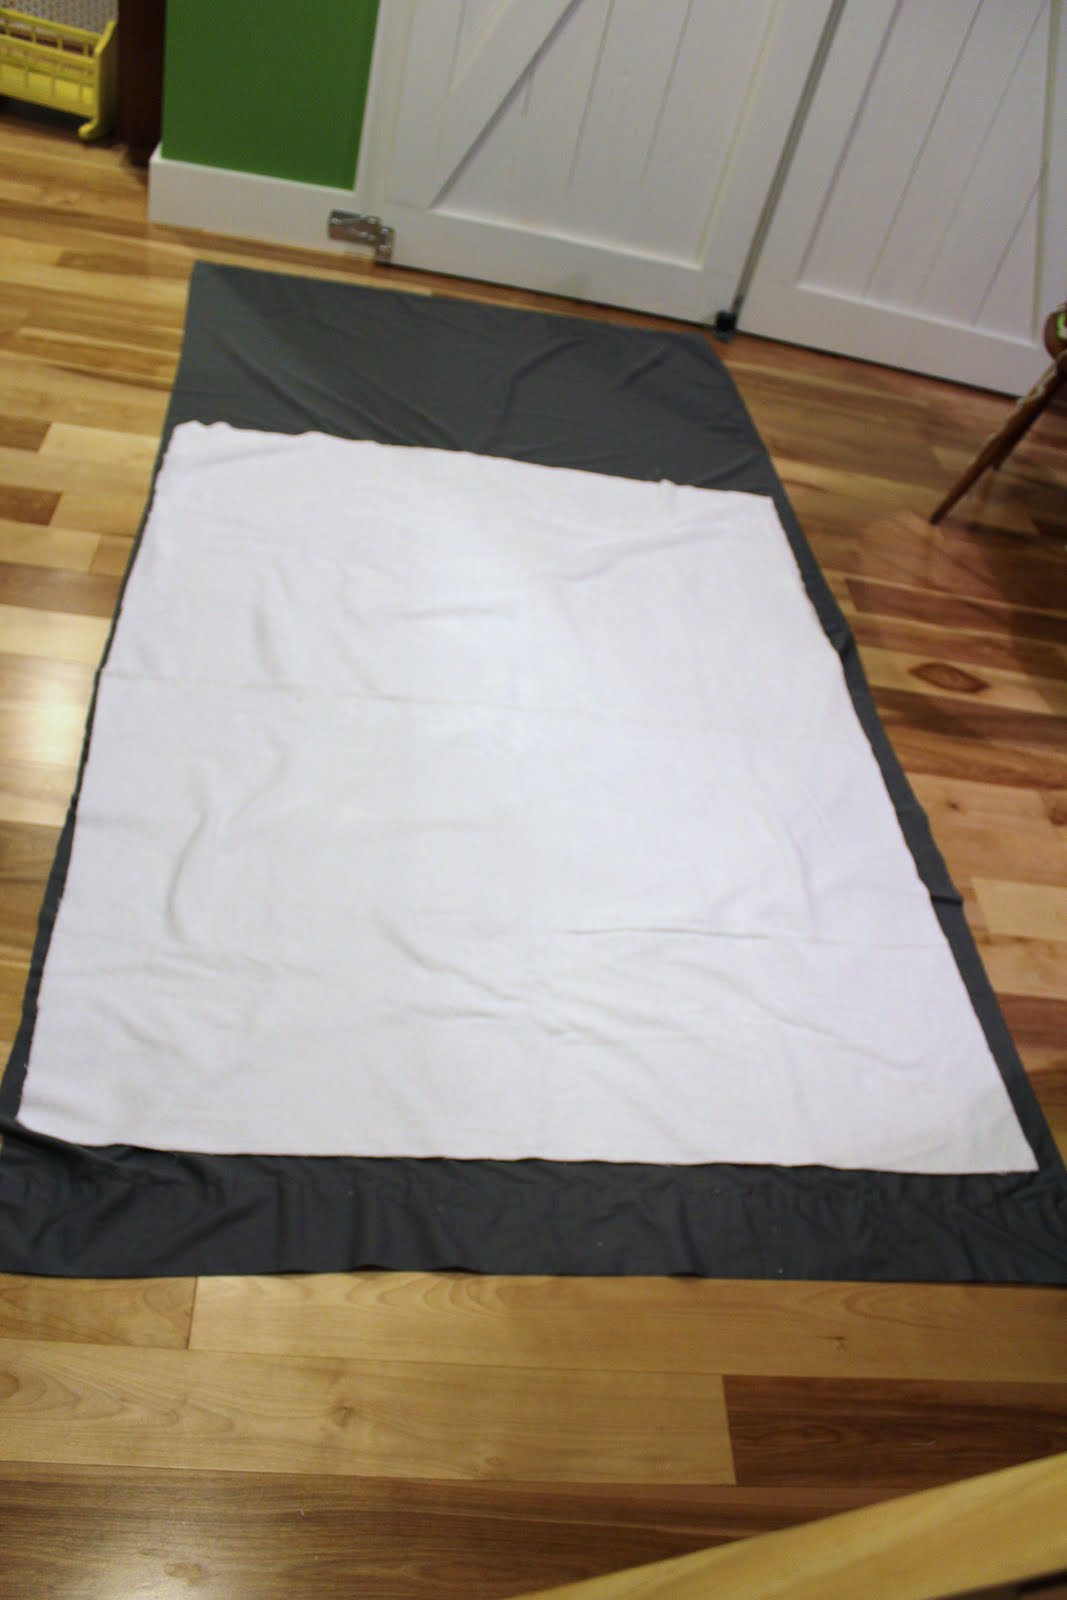
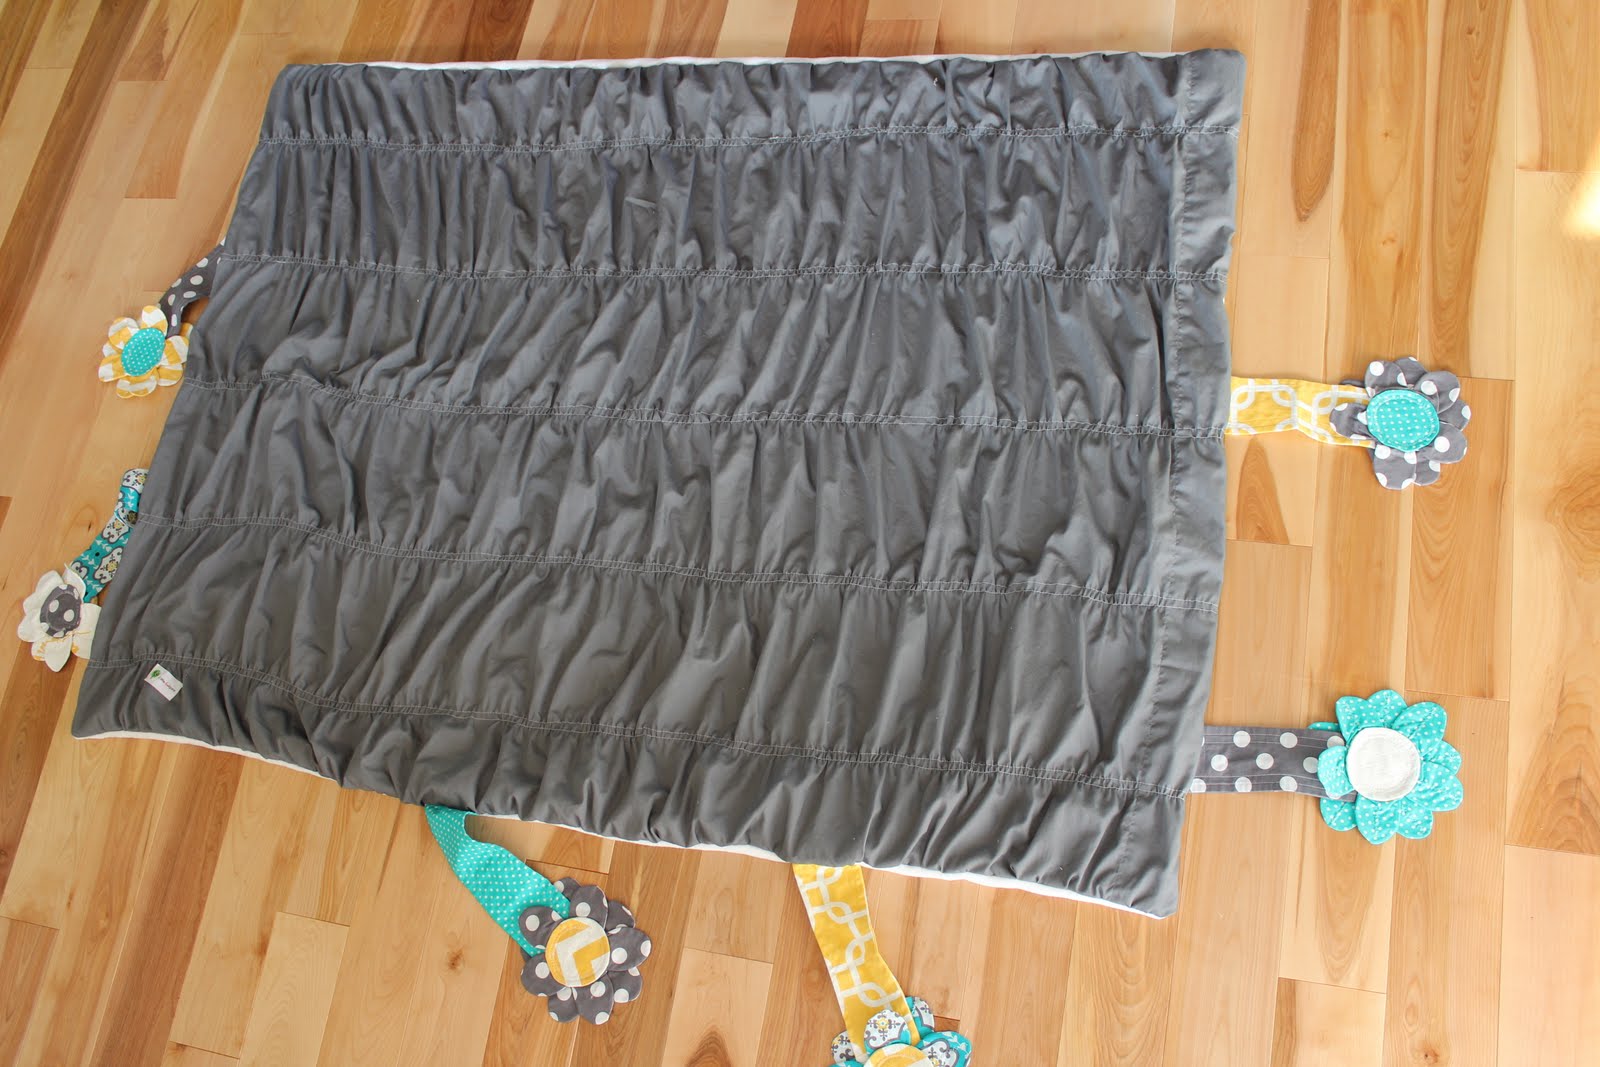
 So I haven’t sewn all week. I said I was done working on the house, but I just cant stop! Really, I may have some issues here folks. This past weekend I decided to tackle the mudroom. I finally stained all the wood and then started organizing all of our stuff.
Its almost finished. I’m just waiting to put up a shelf and paint a few things, then I’m done! Yes, I’m so done working on the house…well maybe!


 Instead of repainting everthing the existing colors I decided to go with something new. Most of the time I can pick out the perfect color in minutes, but I was just having a tough time with all those blues.
 So I took a couple of fans home to help me decide. Gosh, all of those colors are dangerous for a color loving girl! I thought about going red for a minute or two but decided to go with big country blue for the cabinets and true blue for the walls.
 It took hours to remove all of the doors, hinges and hardware so late that night I started painting. It wasn’t until I finished painting the built-ins (on the left) that I realized the color I had chosen was way to bright for me. Like WAY too bright. Trust me, these pictures make the color look great, but they don’t really show the true color.
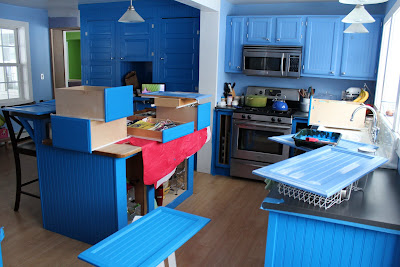 But I had gotten too far to turn back…plus the paint store was closed and I’m an impatient kinda girl when it comes to such things. So I decided to go with it and make it work somehow. Last night I finished painting all of the cabinets. I wish I could say that I love it and that all of the time spent painting was worth it, but I can’t…not yet.
  Hopefully after I paint the walls and trim today I will like the color and it tones down the brightness on the cabinets a little.


