
After much debate I decided to open my etsy shop again. But this time instead of selling my handmade baby items I will be selling some cabochon jewelery. I have had such great feedback and requests for selling them, so why not. Hopefully in the near future my shop will turn back into what 2 little hooligans first was…selling accessories for baby and mom. And who knows maybe someday I will have two etsy shops. I really never ever would have thought that I would be reopening my etsy shop to sell jewelery, but here I am. Funny how life changes our plans sometimes, isn’t it?
 So If you like cabochon jewelery as much as I do, please check out my etsy shop.
 Then come back here and tell me what your favorite item was.
 Because I will be giving away any item currently in my shop to one lucky winner.
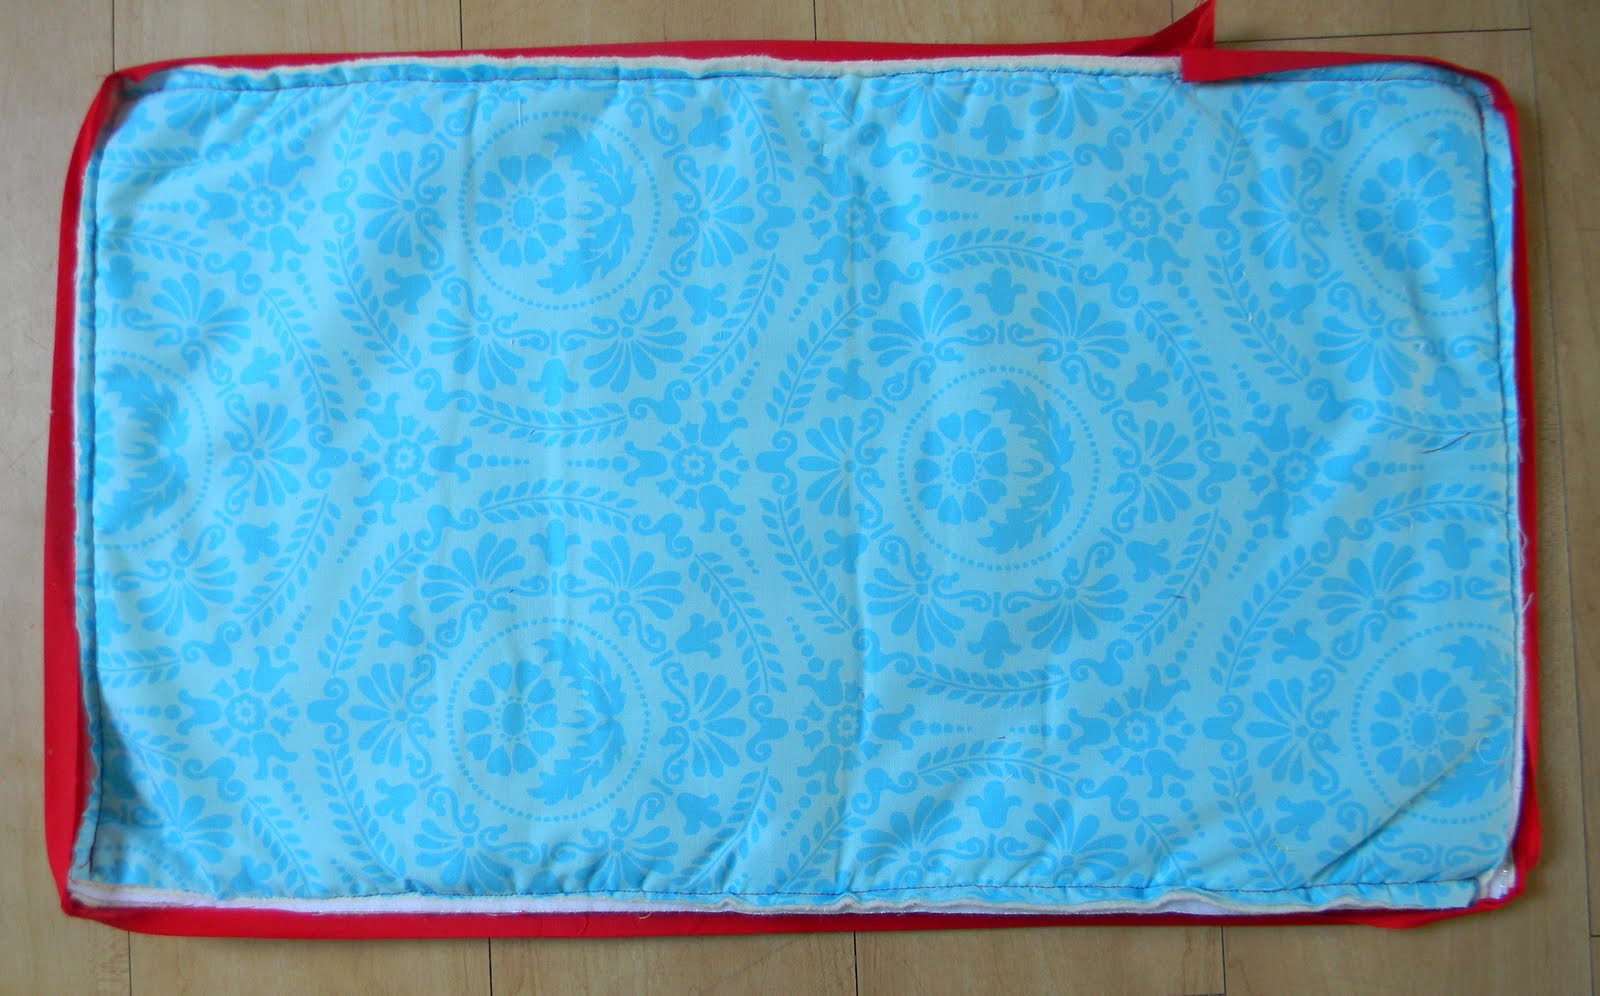
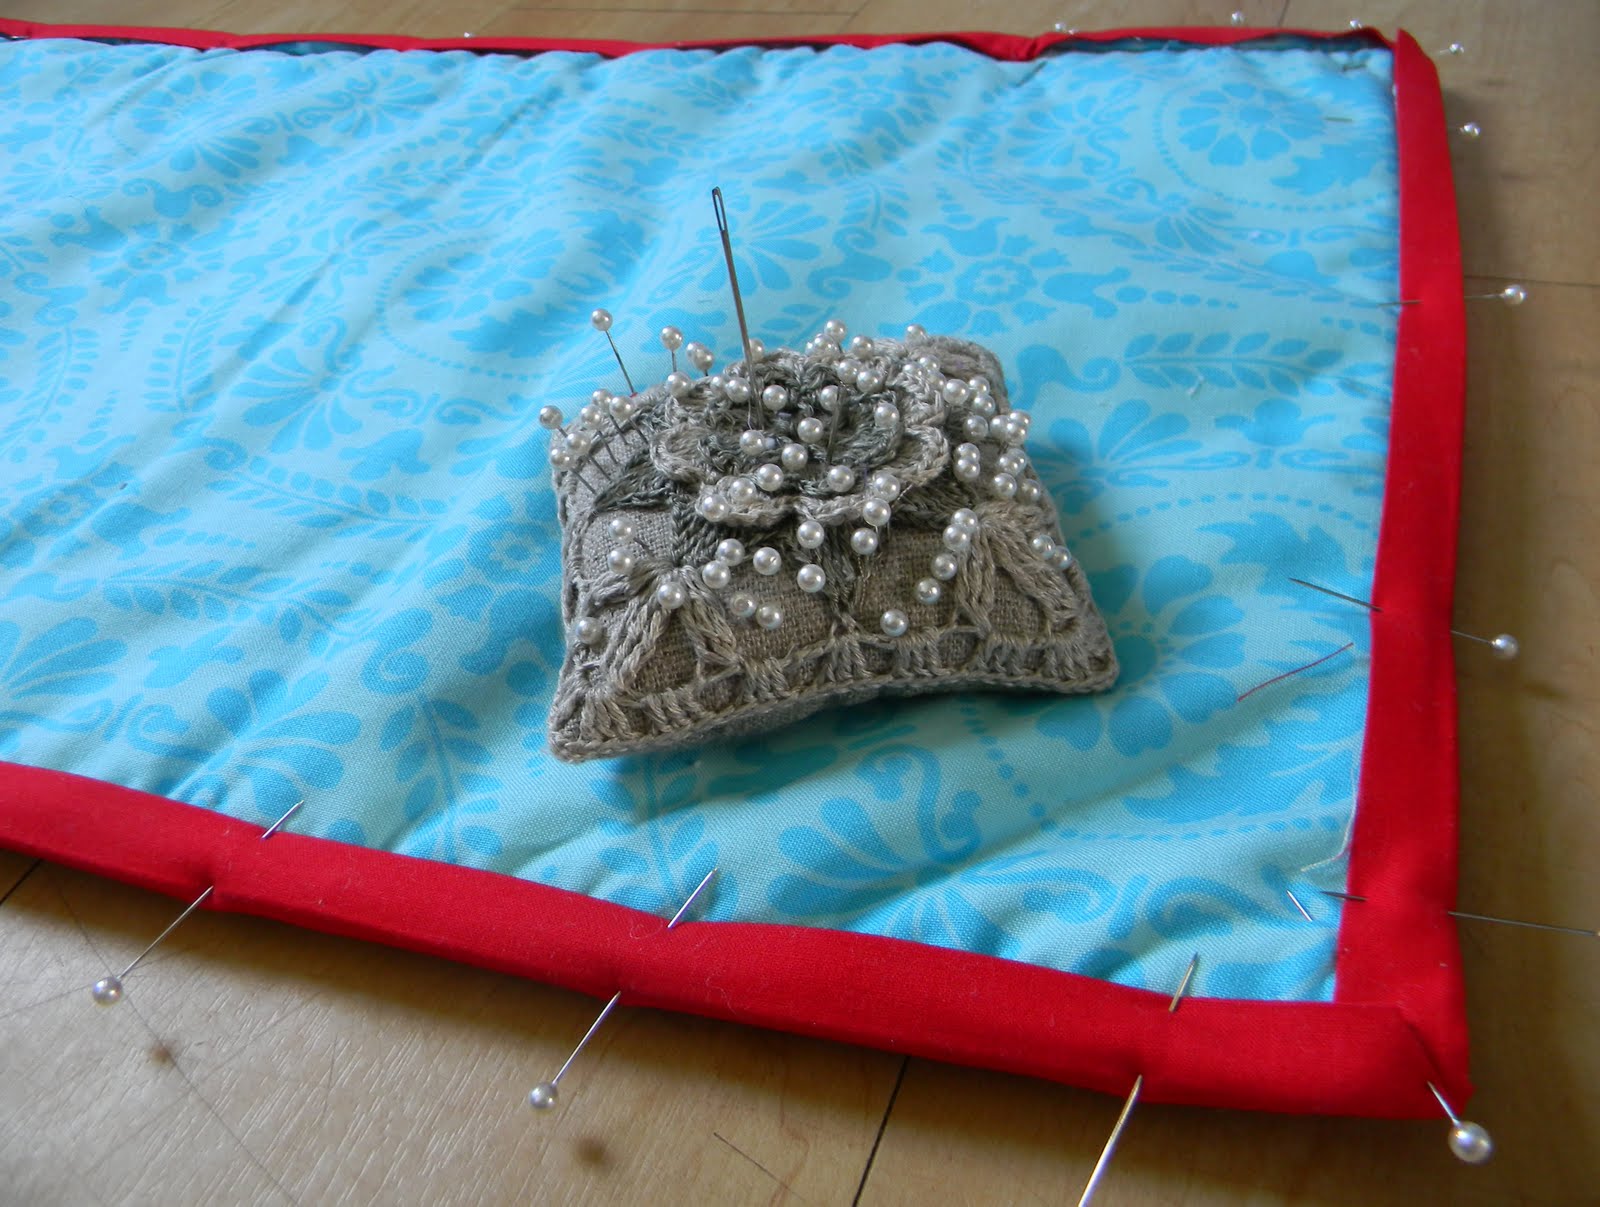
 And just in case you were wondering, all of my jewelery will come neatly packaged in a sweet little homemade drawstring bag…because I just can’t help sewing something.
 Hope you all can find something you would love to wear!
Giveaway ends July 21st, 2011.


