Hello! It looks like you are new here. I would love it if you subscribed to my blog via Bloglovin
 But it doesn’t take them long before they know exactly how to get to the goodies.
 I love watching those little nibbles.
 And those chubby little fingers.
 And how they know just where to go to pick more.
 These past few months have made me appreciate these moments even more. And in all reality, made me slow down and take the time to enjoy these moments.
 Because these babies of mine are growing up way too fast.
 Our little family of 5 is complete, but I can’t help but think maybe there is room for one more.
 Because I just love watching those little babies grow.
 But I have also loved sleeping and wearing a normal bra again…so maybe I will just make the garden bigger next year…and watch that grow from seed.
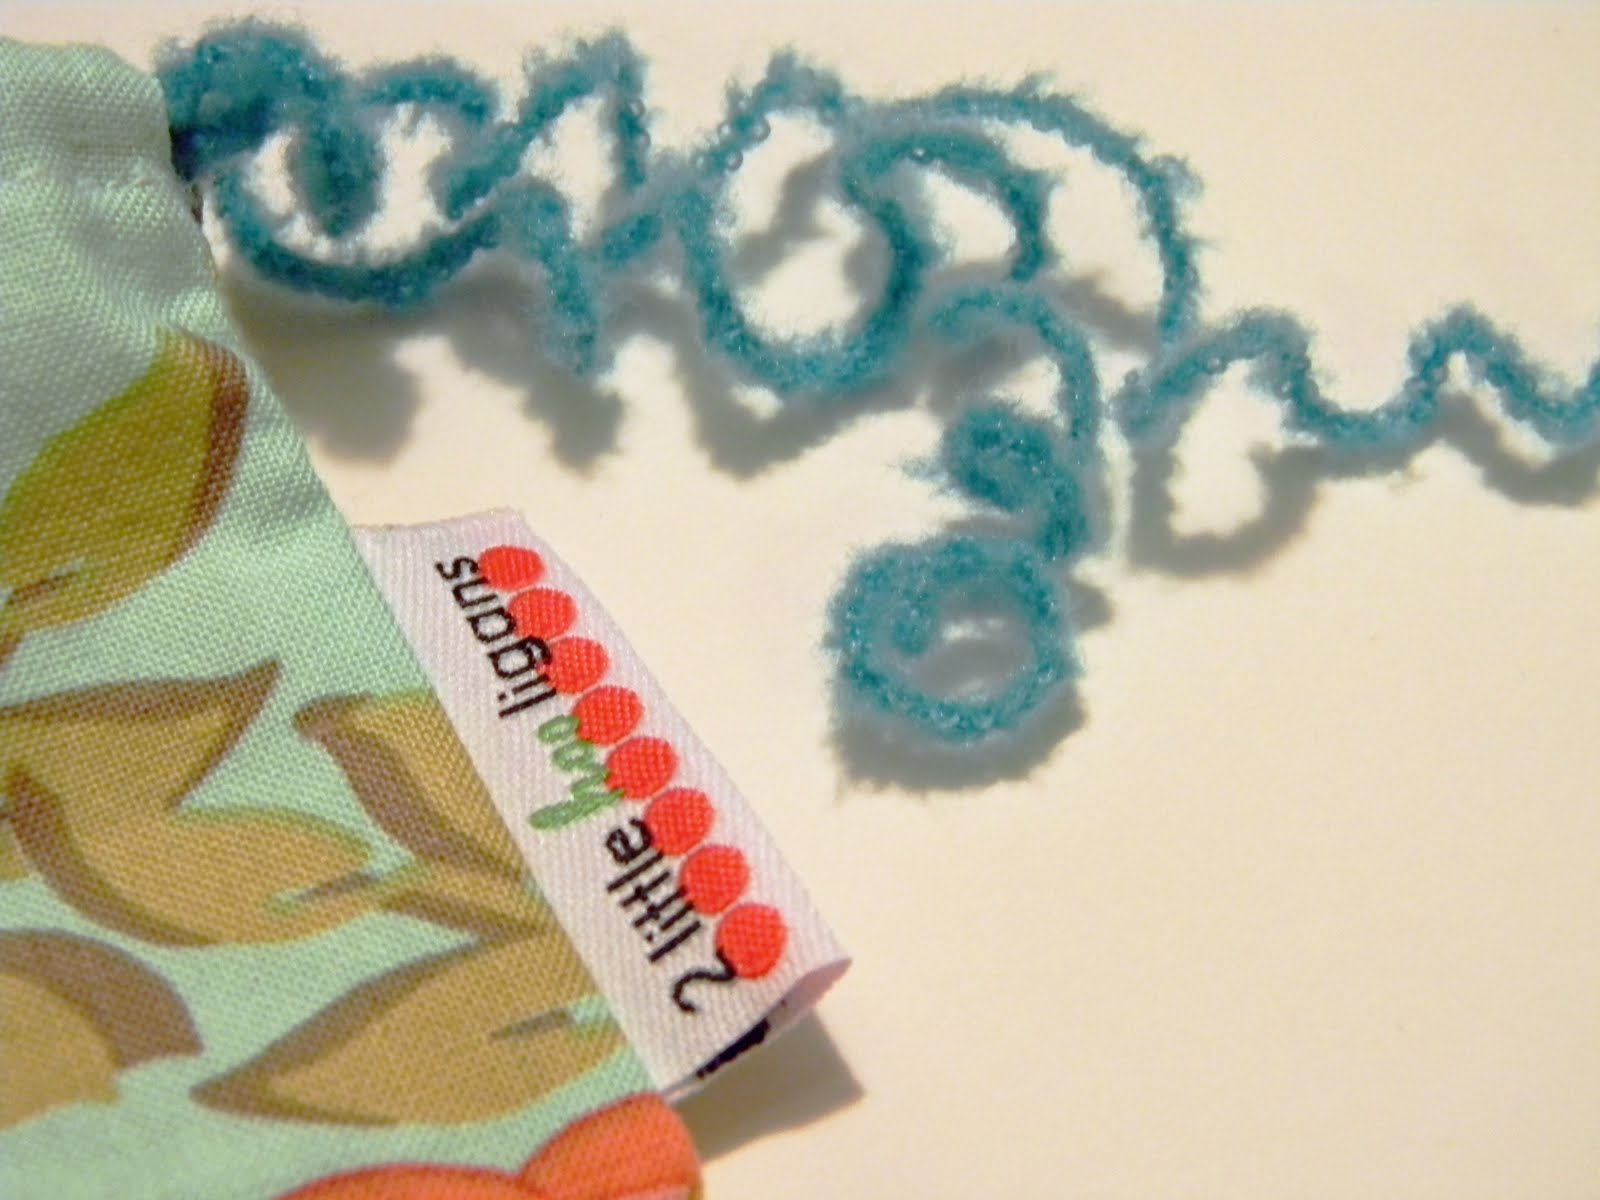
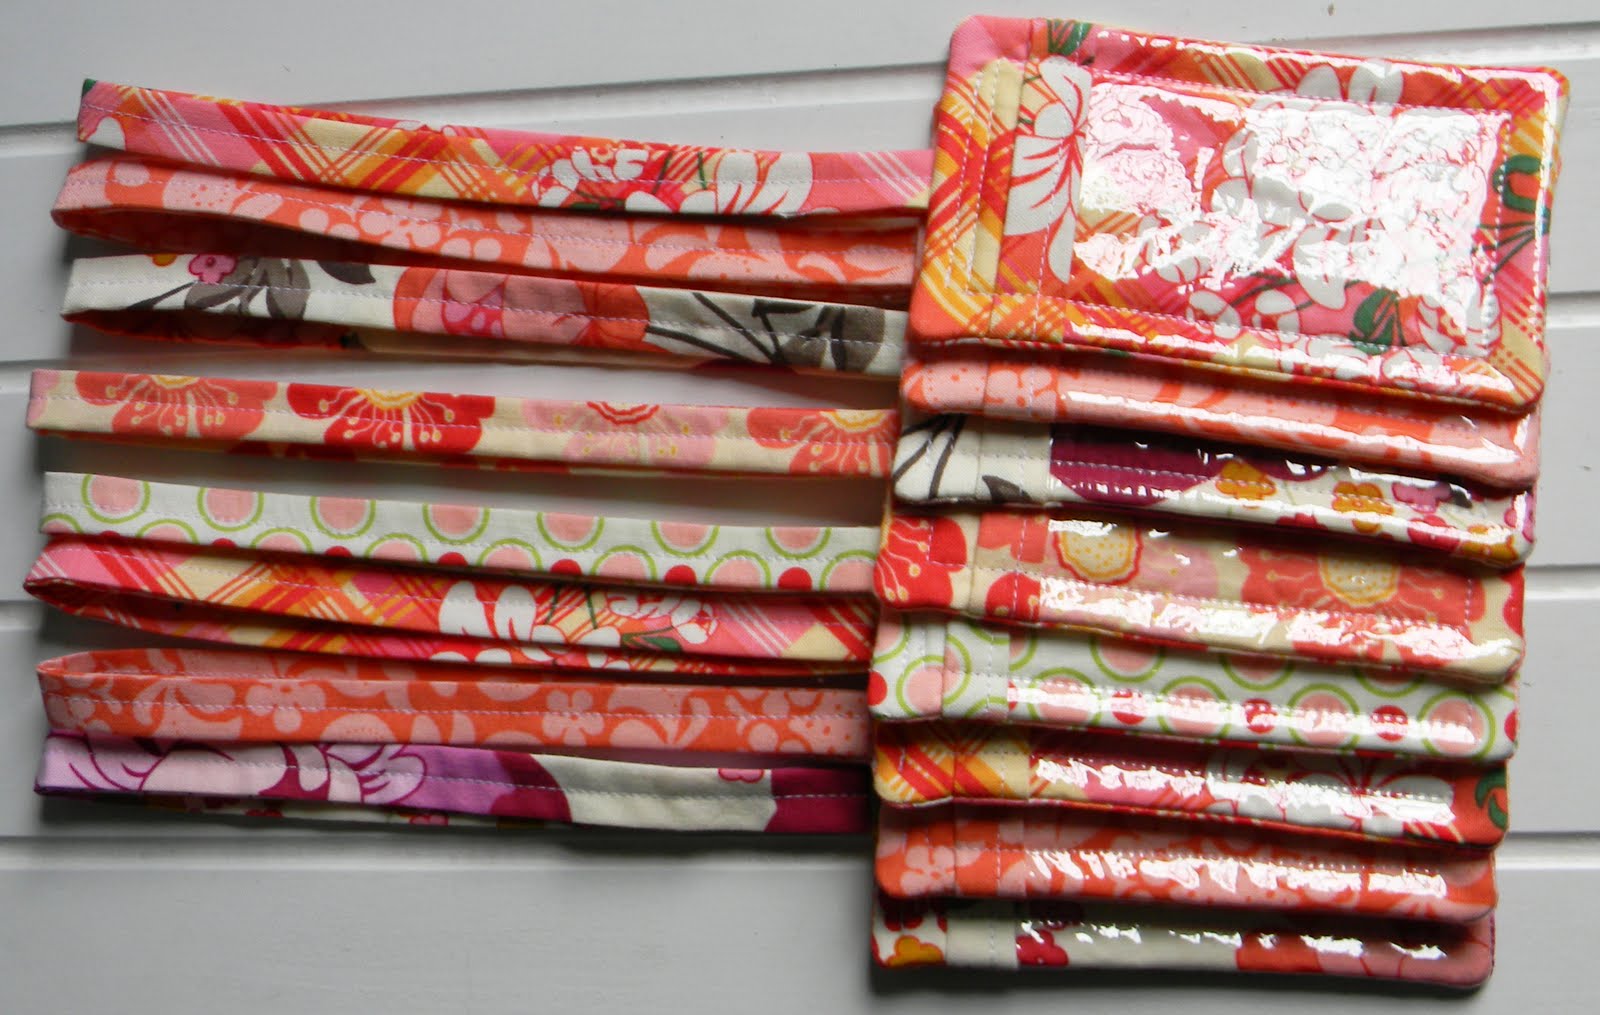
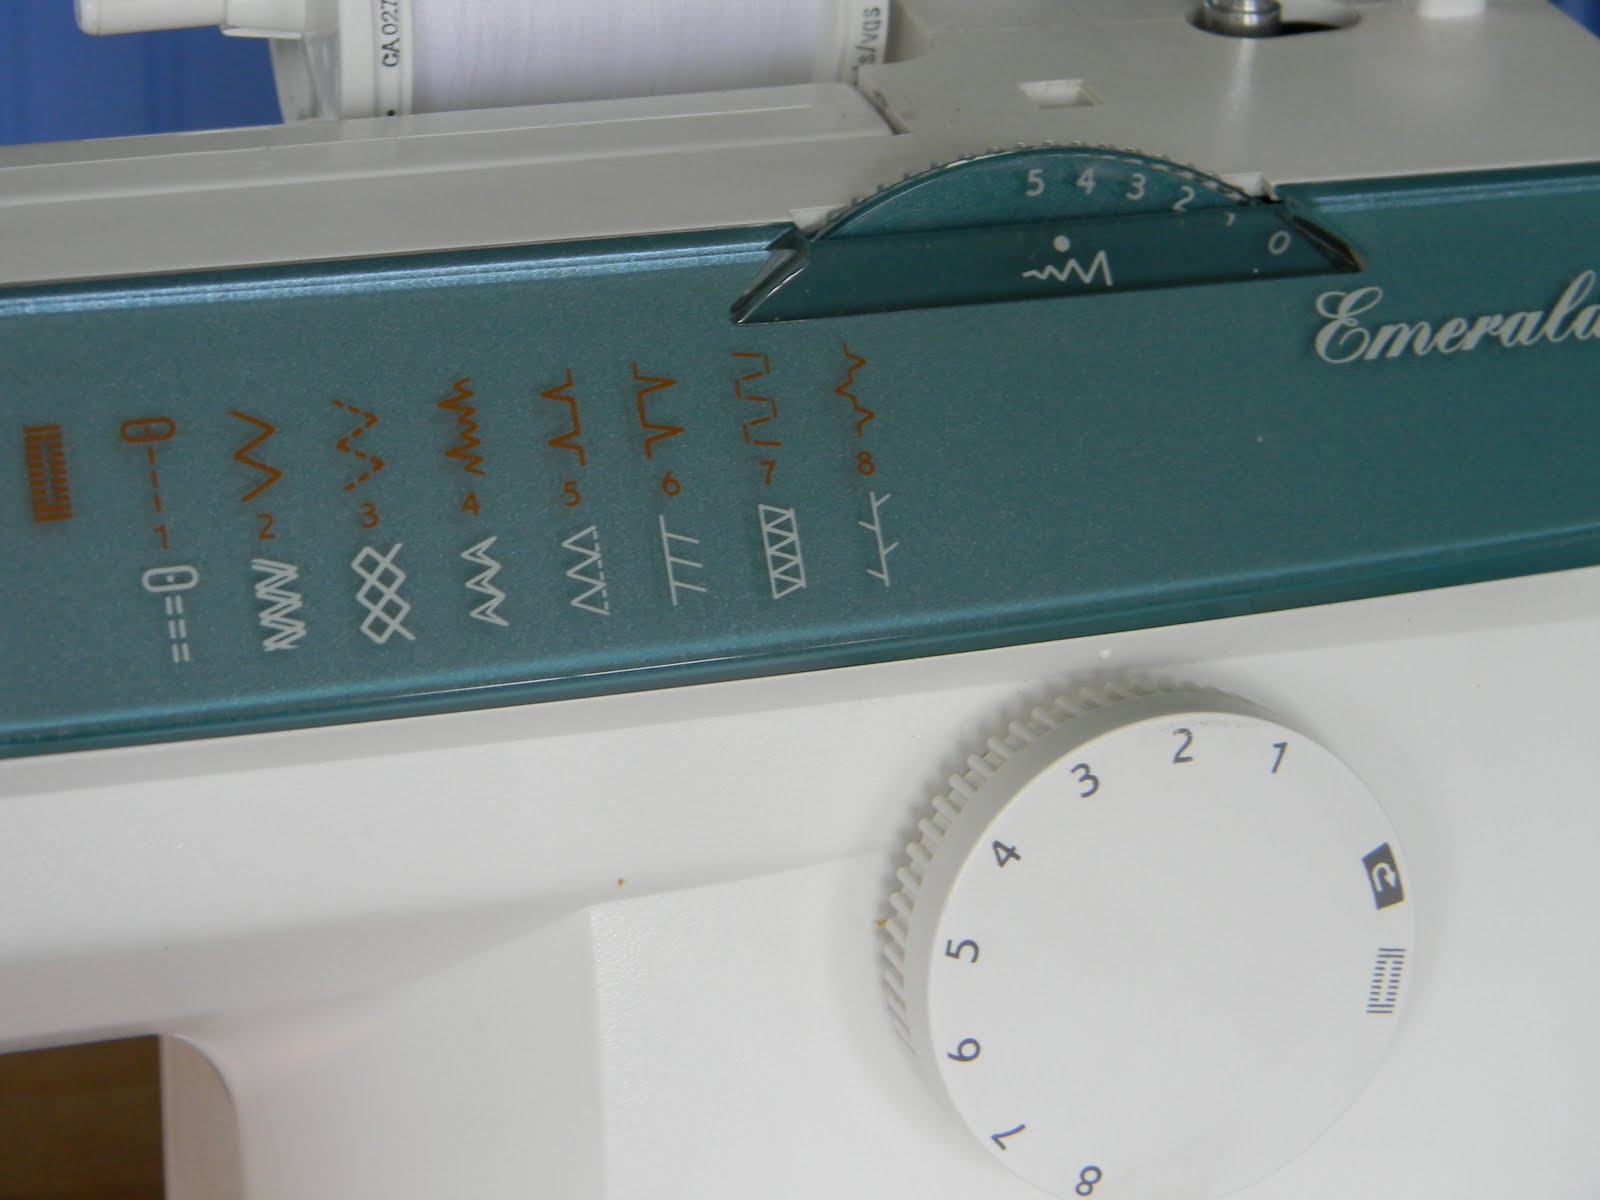
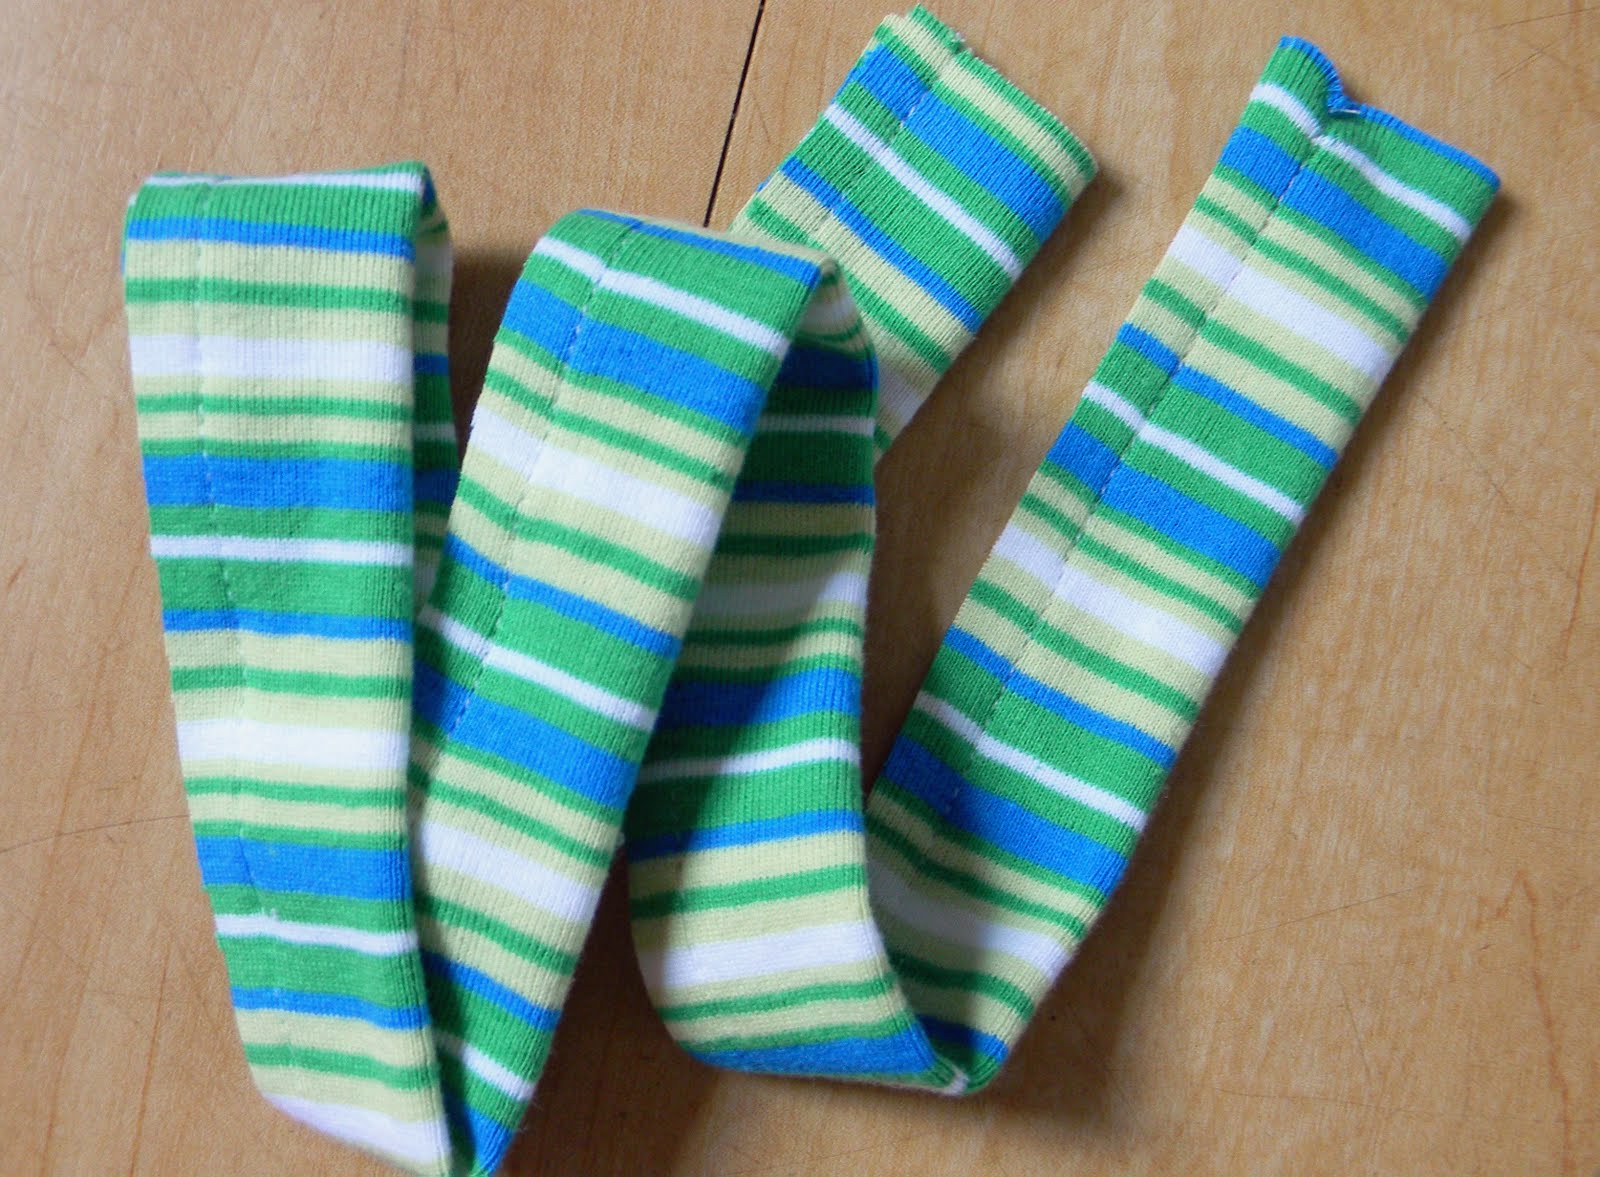
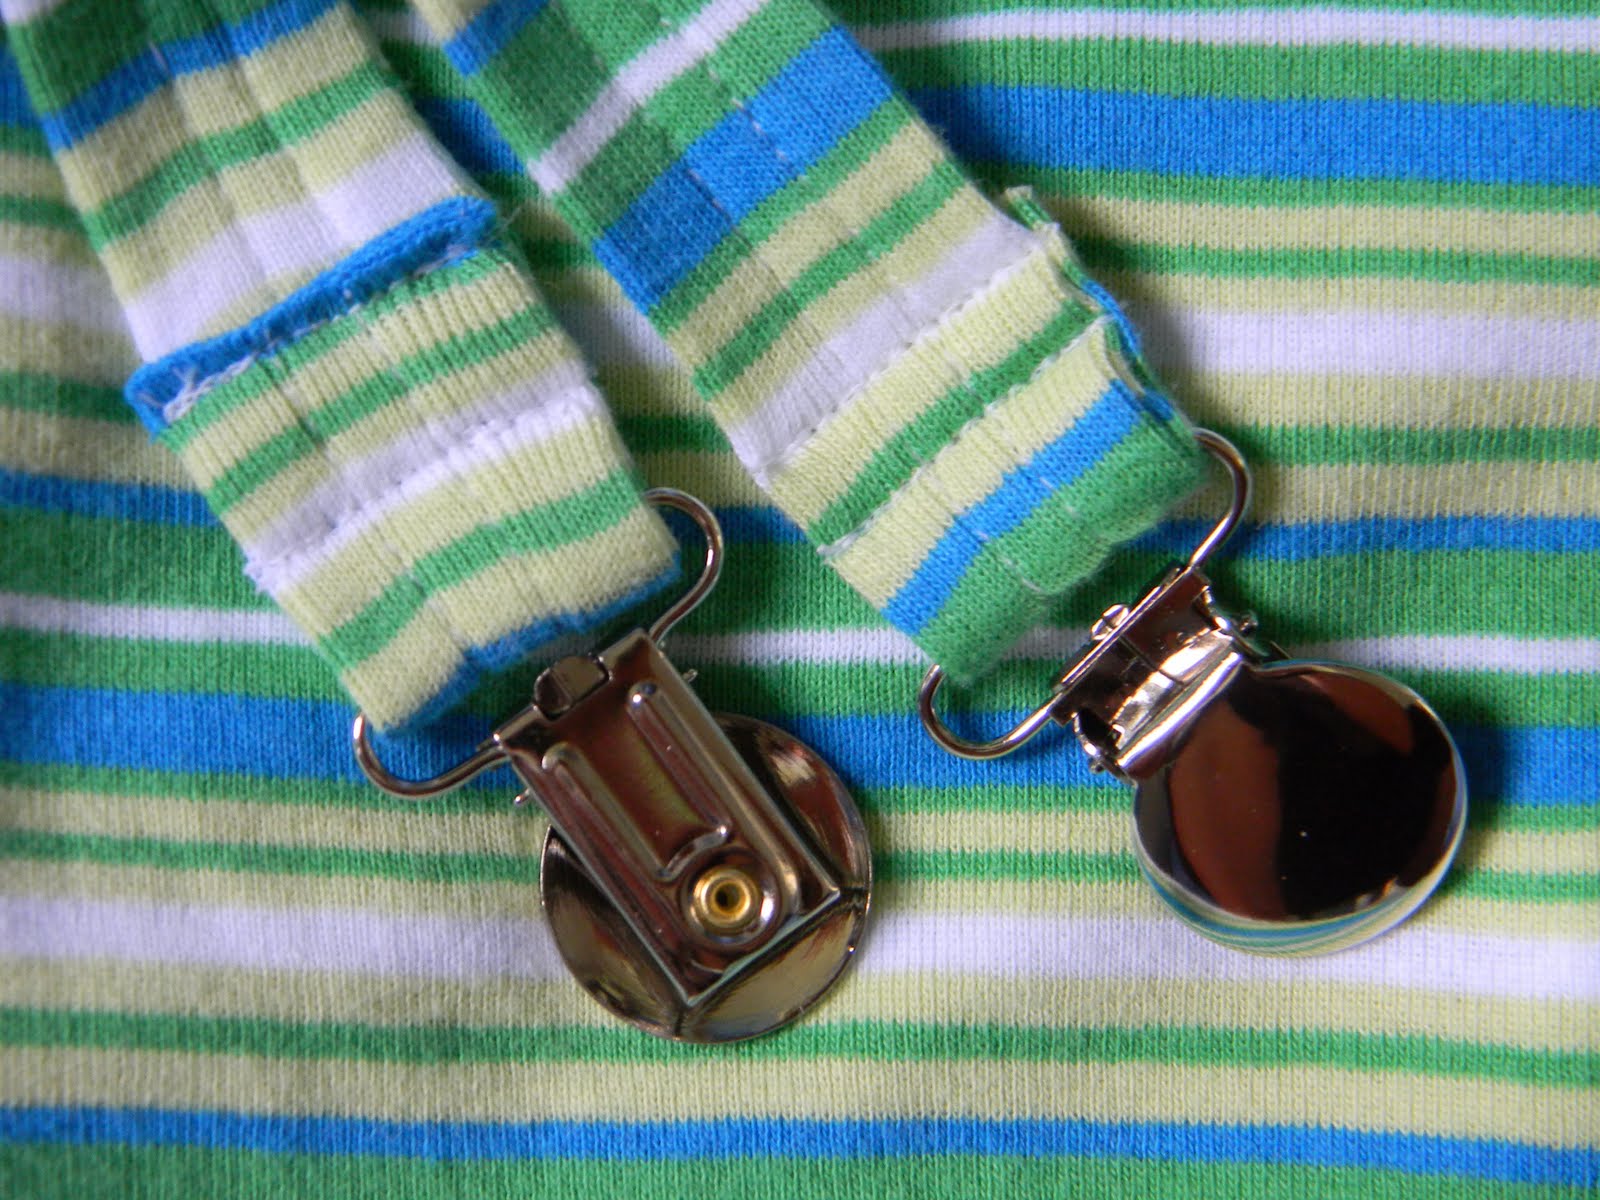
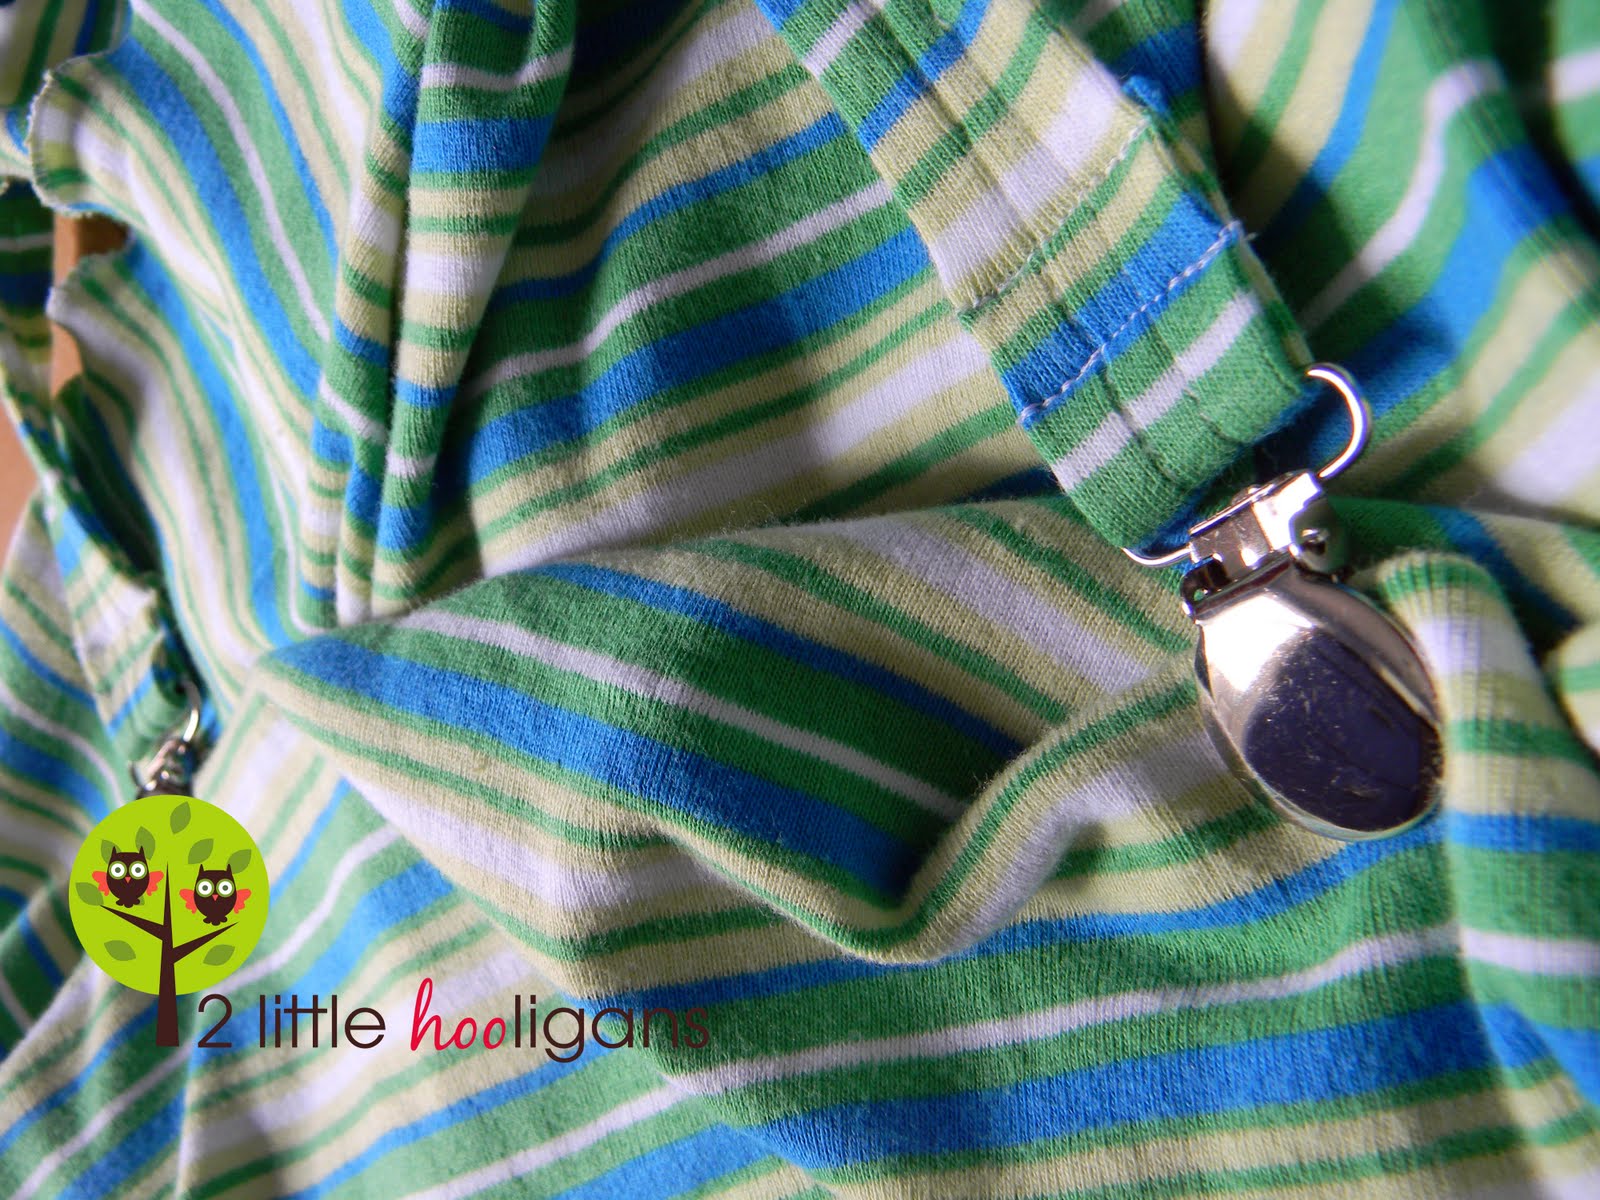
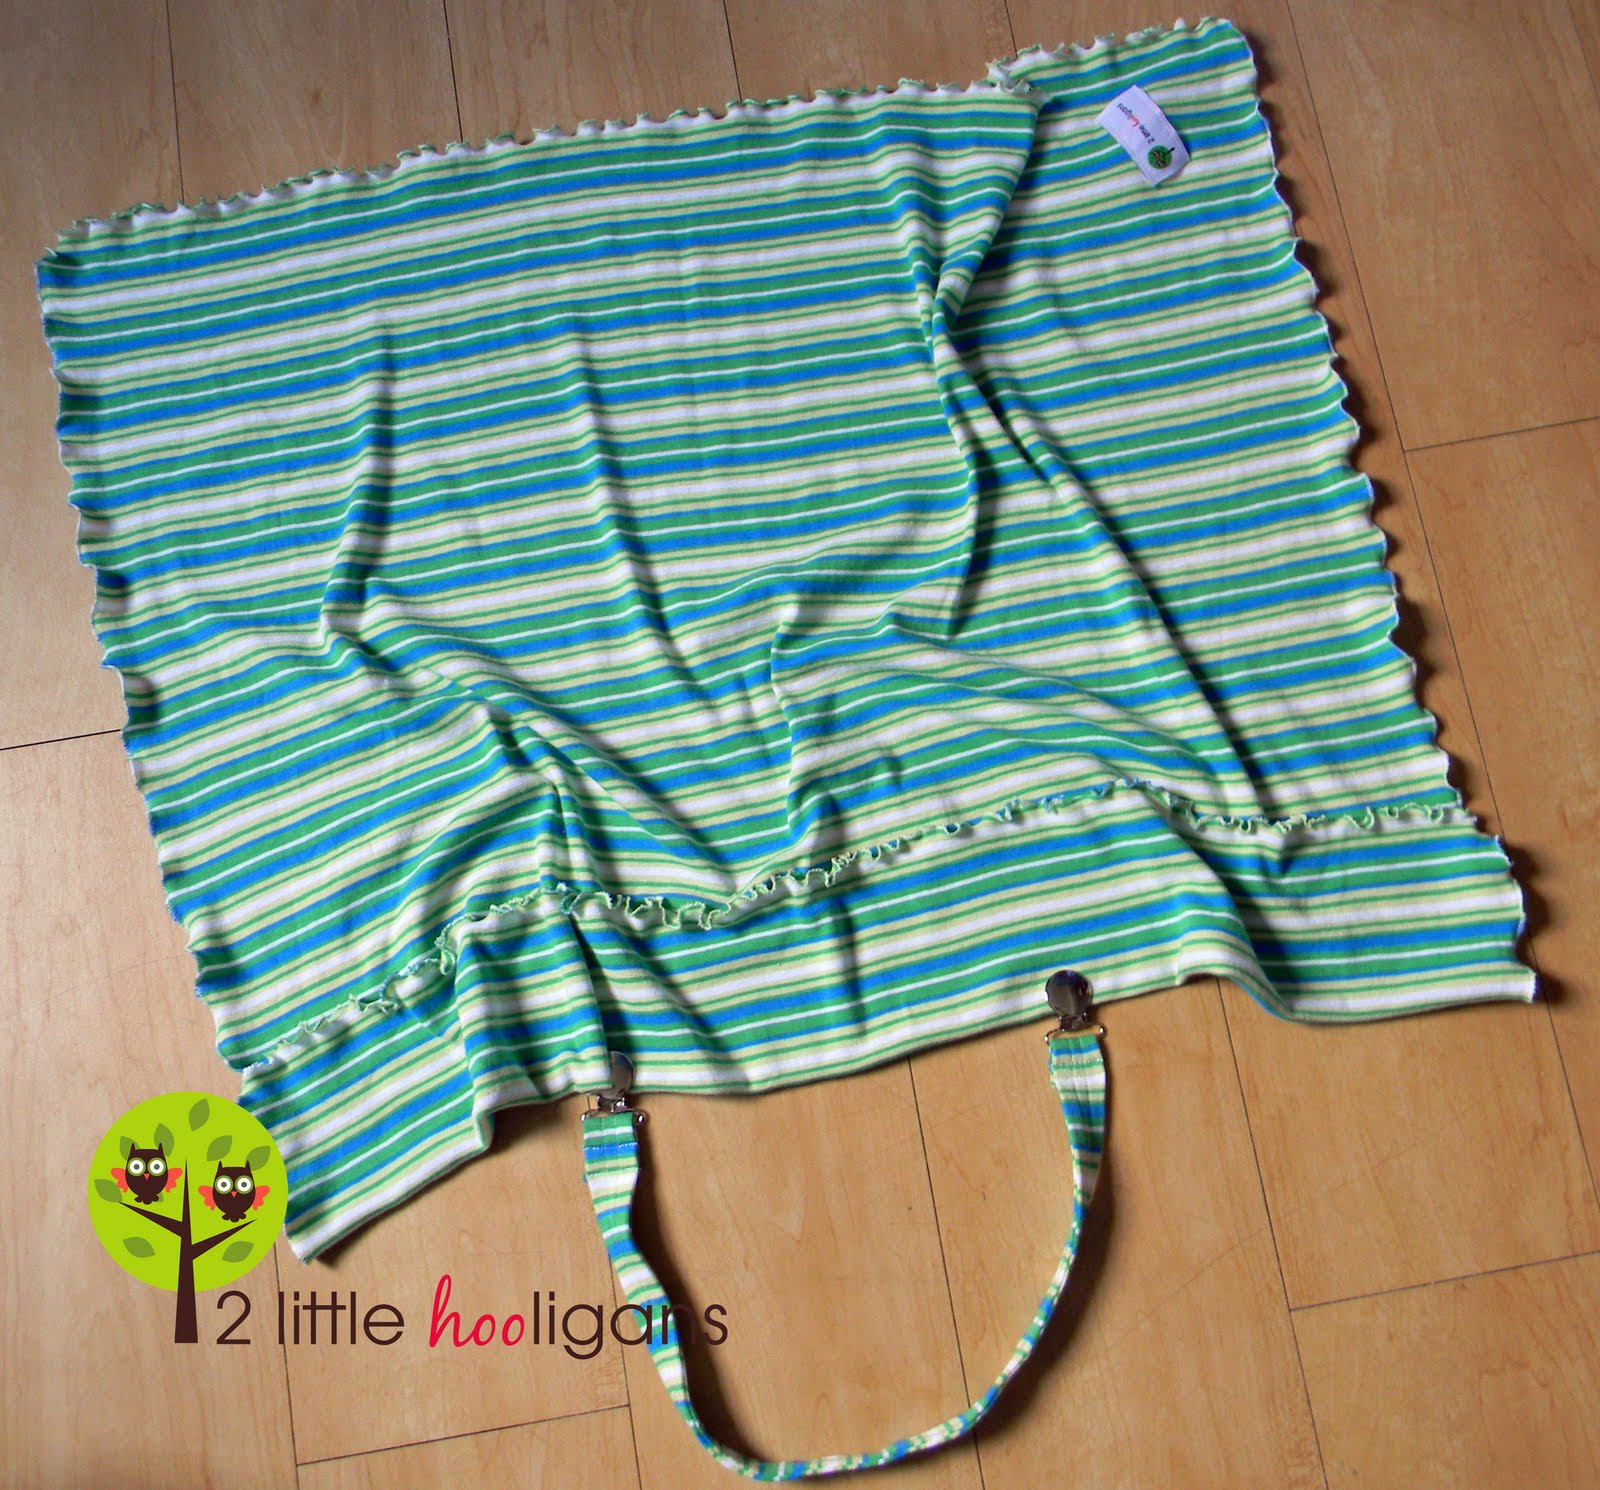
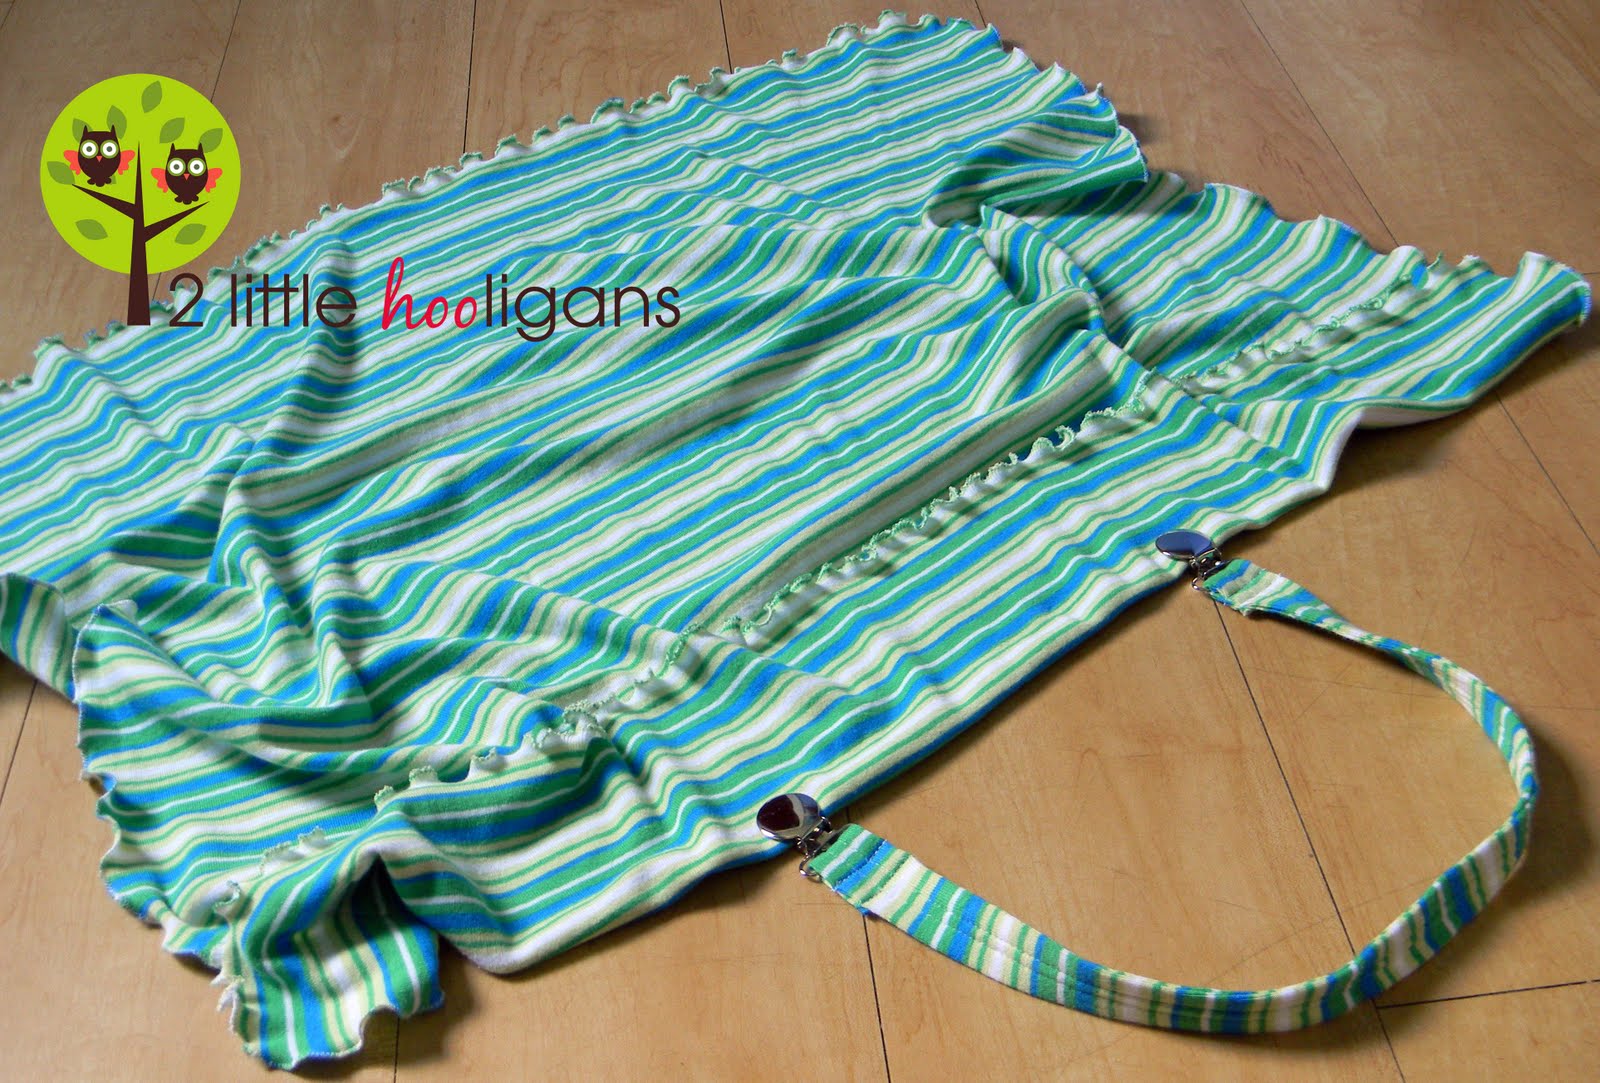
 **Unrelated note…We had a super productive weekend! I did some sewing and Im almost finished my gift for that sweet little baby niece of mine. I just keep adding more goodies to the mix…I just need to stop! Plus we (mostly the hubby) worked non-stop all weekend on the house. We finally have walls up and the rooms are actually looking like rooms. Maybe we will have it finished by Christmas!**


 Materials Needed:
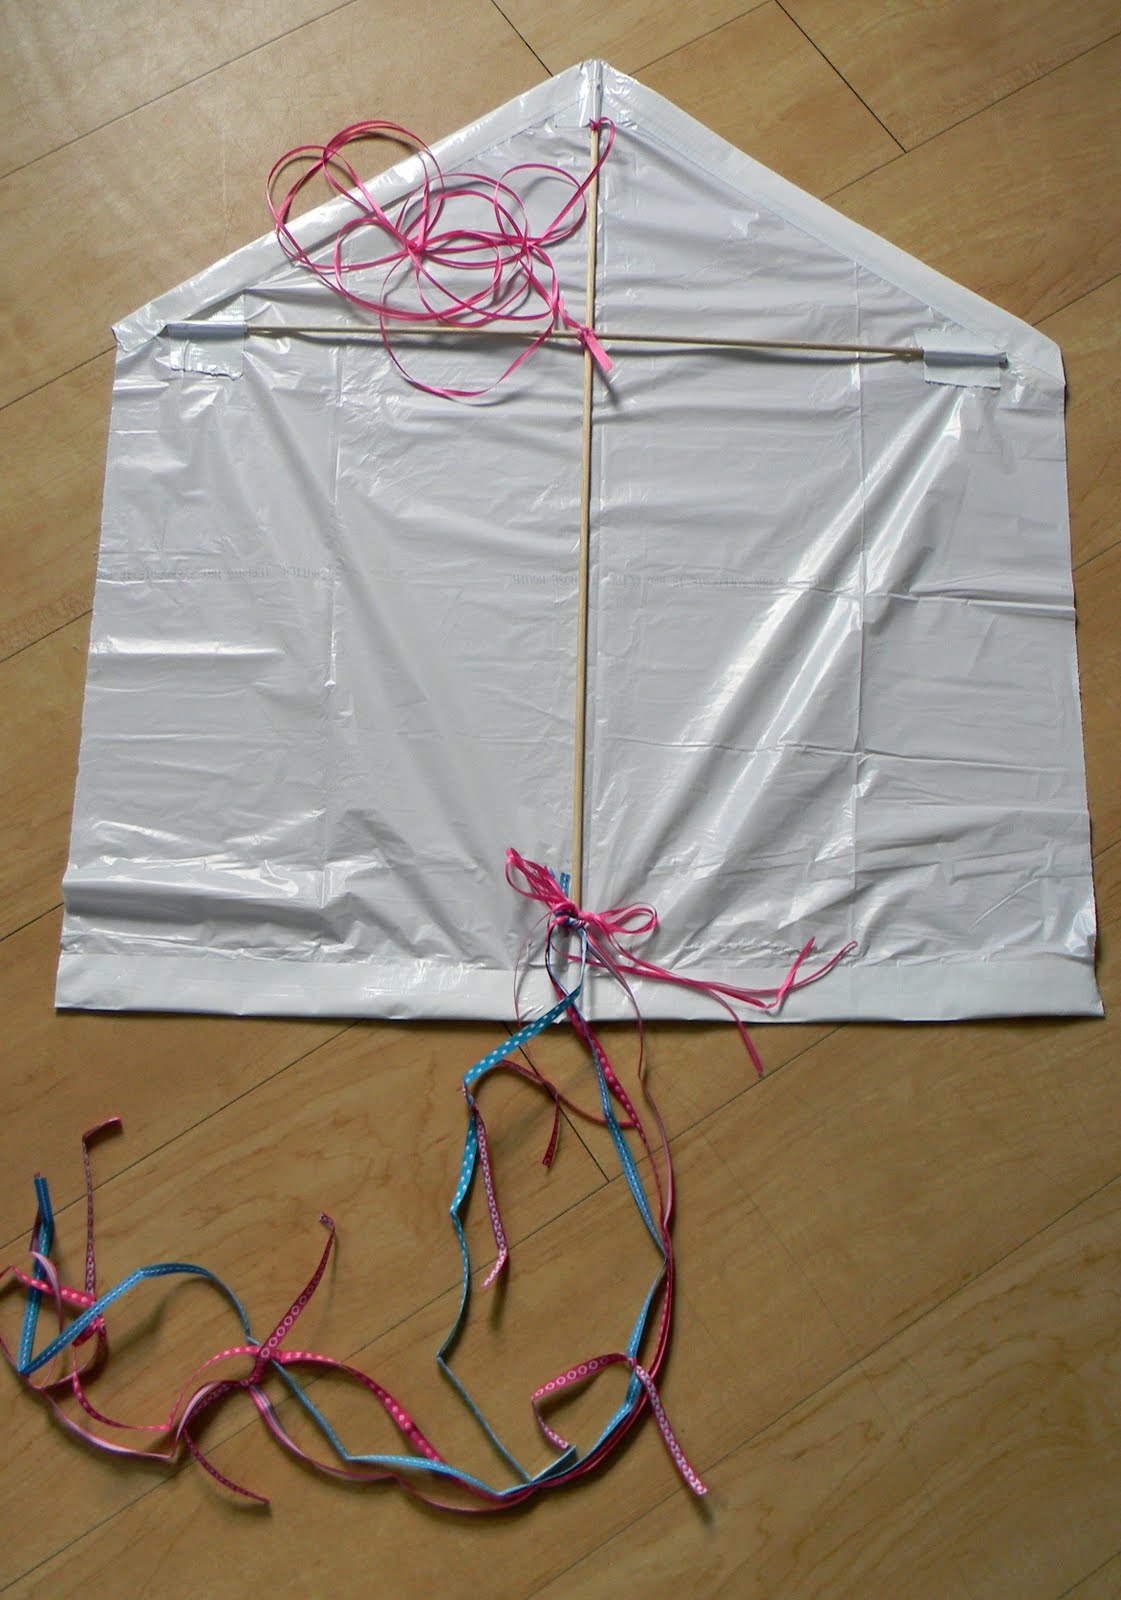
 Cut one of the dowels 21″ long and keep the other dowel full length for now. Take the 21″ dowel and center horizontally it onto the larger dowel 9″ down from the top of the longer dowel. My dowel ended up being 10 1/2″in from the sides when centered. Secure the dowels in place by wrapping string or ribbon around the dowels in the middle. Make sure that they make a straight cross and are as even as possible.
 Take and lay your garbage bag flat on the floor. Place your cross on top of the bag. You want the top of your cross to be even with the top of your bag.
 Mark your wooden dowel where you want to cut the excess part off. I wanted to cut the drawstring part off from my kite, so I measure just above where the drawstring area stopped and cut my dowel there.
 Cut the dowel with a pair of sharp kitchen scissors. Should look like this now.


 So head on over to


 The garden is overflowing with fresh veggies and needs picking everyday. We are already getting waaay more fresh veggies then this little family of ours can consume.
 So whatever we don’t eat ourselves goes straight into the farm stand. Each year my goal is to make enough money to pay for next years seeds and plants. But really, I’m just happy that nothing is going to waste.
  It is actually amazing how many customers I have on a daily basis. But I guess when you sell cukes for 10 cents you are bound to get some business.
  I even have a few customers that like to stop by before I pick the garden to place their orders.
 So if I’m not crafting and blogging as much as I normally do then this is why.
  Veggies this beautiful cannot go to waste and a farm stand this cute needs to be well stocked!

 We made lots of “tutti-fruitti” and freshly squeezed lemonade.
 We watched tractors cutting hay across the street, made jewelry, beaded fairy’s, learned how to play shoe shop and even did a little sewing.
 But the funnest part of the week was when Auntie A joined us for the day with 3 more cousins and we got our craft on! We managed to have all 10 kids finger paint signs to welcome their newest little cousin or sis.
 Then we hopped into our swagger wagons and headed down to the hospital where we paraded around the hospital searching for Auntie’s window.
 Once we found her window we quickly got all 10 kids lined up in order while holding their signs. Then they started singing “Happy Birthday” to Auntie and Uncles newest little bundle! It was completely priceless and I cannot think of a better way to have welcomed a sweet little baby into this world!
 One proud BIG sister that is completely smitten over her new little sis!
 Now my little guy wont stop begging me for another little baby.
 And I have to admit, this little one sure does give me baby fever!
 Welcome to the world pretty-pretty little baby girl!