
I’m one of those wives that will attempt to make or fix something instead of waiting for the hubby to get home. I’m too impatient to wait and would rather try it myself and fail, than never have attempted it in the first place. I inherited this gene from my mom. There are times when the hubby has come home to find a big ole mess and has had to bail me out. And there are times when I have spent hours doing something that would have taken him a few minutes to do. And occasionally, there are times when something just comes out good just by chance. This was one of those times.
 My hubby said he would make me a locked box for the farm stand so the punks could no longer steal from me, but I could not wait another day, let alone another minute. I needed a money box and I needed it now. So I got some wood scraps, a saw and my hammer. While the kiddo’s were taking a nap this momma was building.
 About 2 hours later I was staring at this wonky looking box of mine thinking that I should have waited for my hubby to get home. But instead of giving up, I kept working at it. Yes, a good coat of paint would cover up most of my oopses…hopefully.
 And after a few coats of paint my wonky little money box was looking much better.
 It has character. None of the sides are even. There are holes where there shouldn’t be. Gaps where there shouldn’t be. And a nail sticking out the back. And yes, a distressed paint job that went all wrong. However, I cant help but like it! I think its because I made it myself. Its perfectly imperfect and it has character.
 And looks like it just belongs in my farm stand.
 It still bothers me that I have to have a locked box in my farm stand and that there are dishonest people in the world.
 But the more I think about it, I would be doing wrong by not teaching my kiddos about these people, even though I am raising them to be honest individuals.


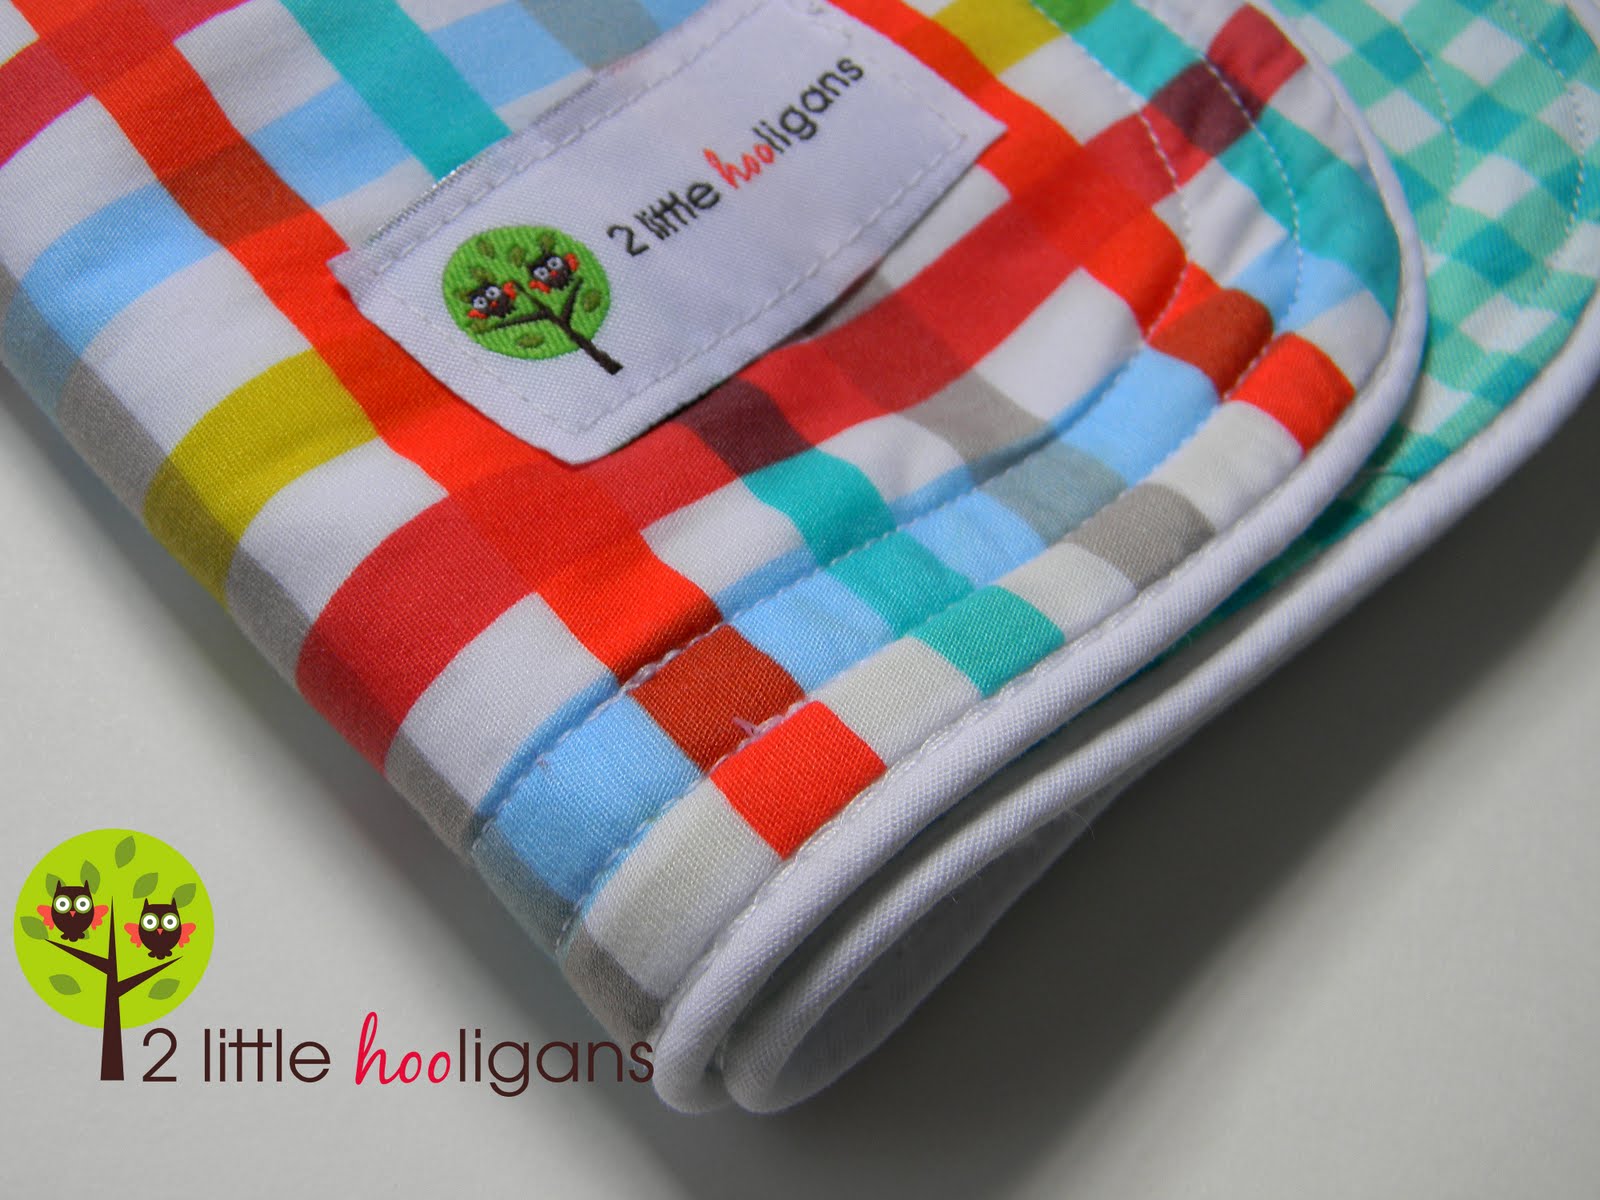
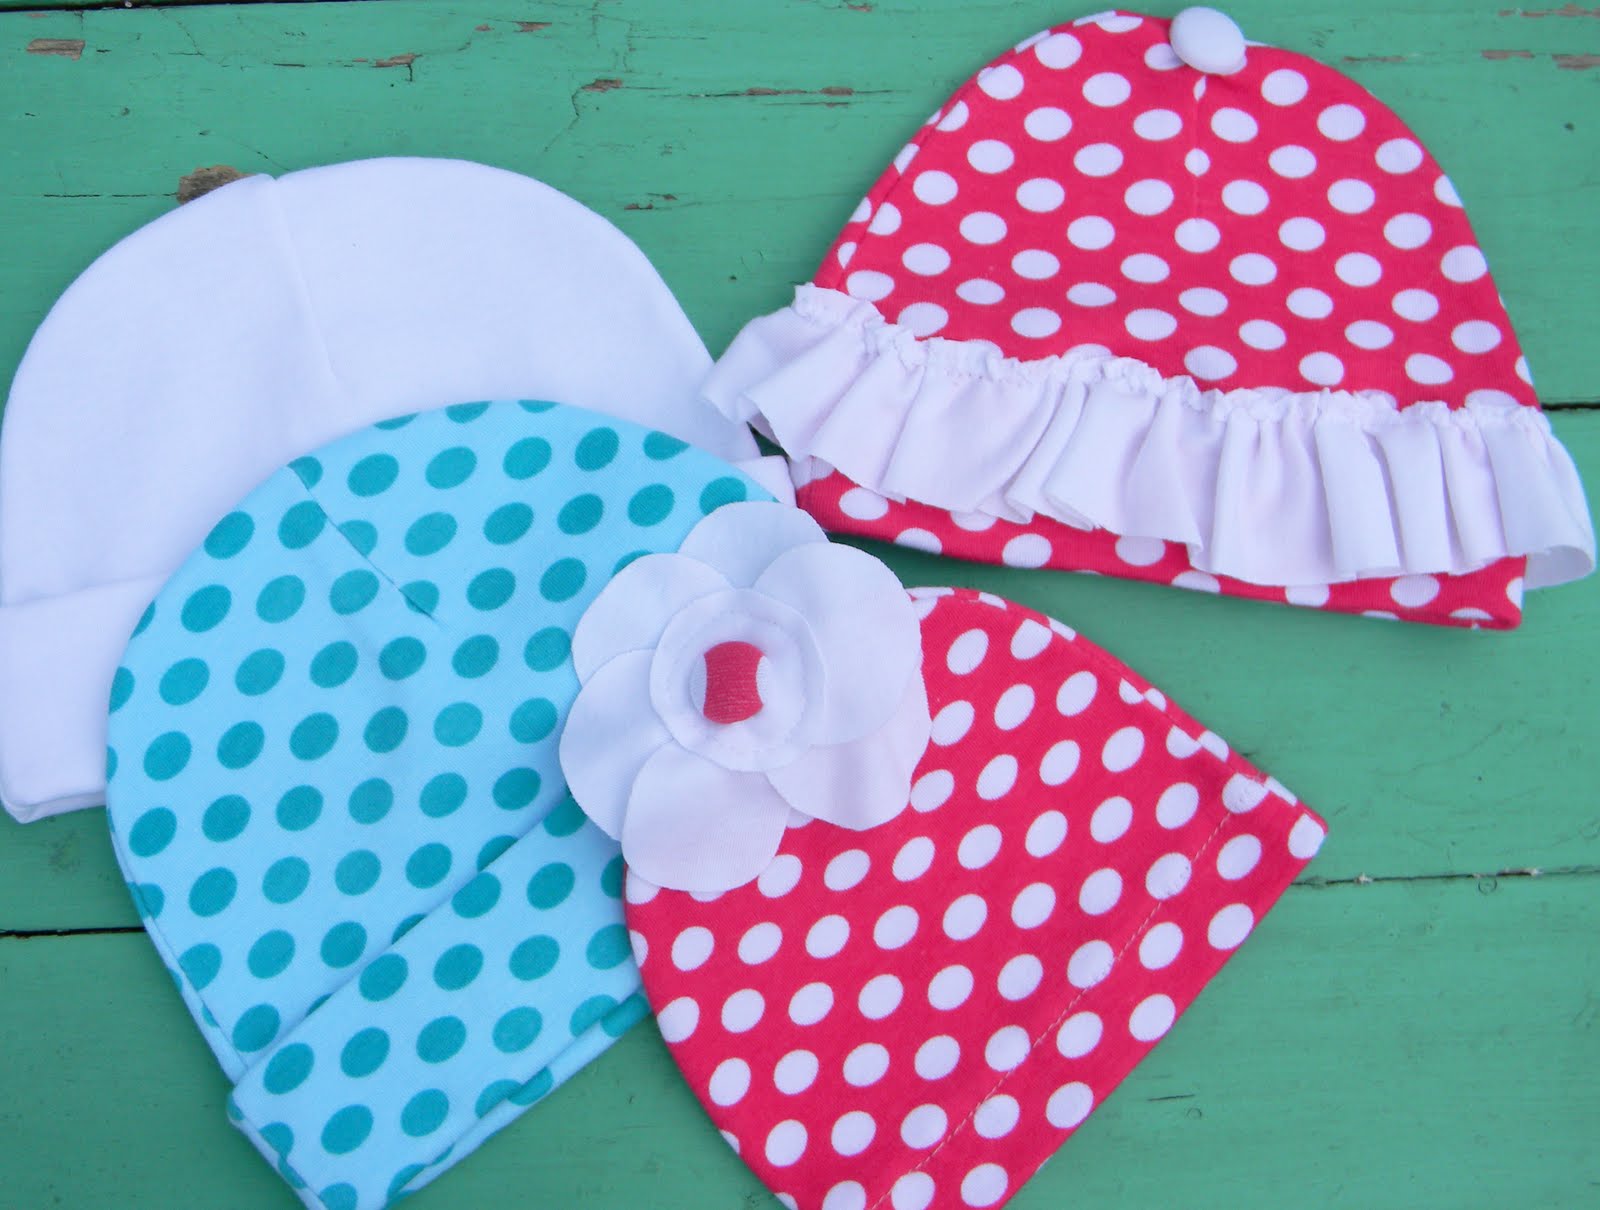
 Materials Needed:
 Take your piece of cotton fabric and lay it right side up and trace around the template onto the right side of fabric. Add your tag now.
 Open the package of piping and cut the piping in half to give you two pieces of piping. Make you only do this if you are making two burp cloths this size. If you are going to make on larger burp cloth do not cut the piping. Now start pinning the piping in place and make sure you pin a lot! You want the raw edge of the piping to be lined up with the line you just traced with your template. Overlap the piping like shown below when you get to that point. You want to make sure that you do not leave and raw piping edges showing.
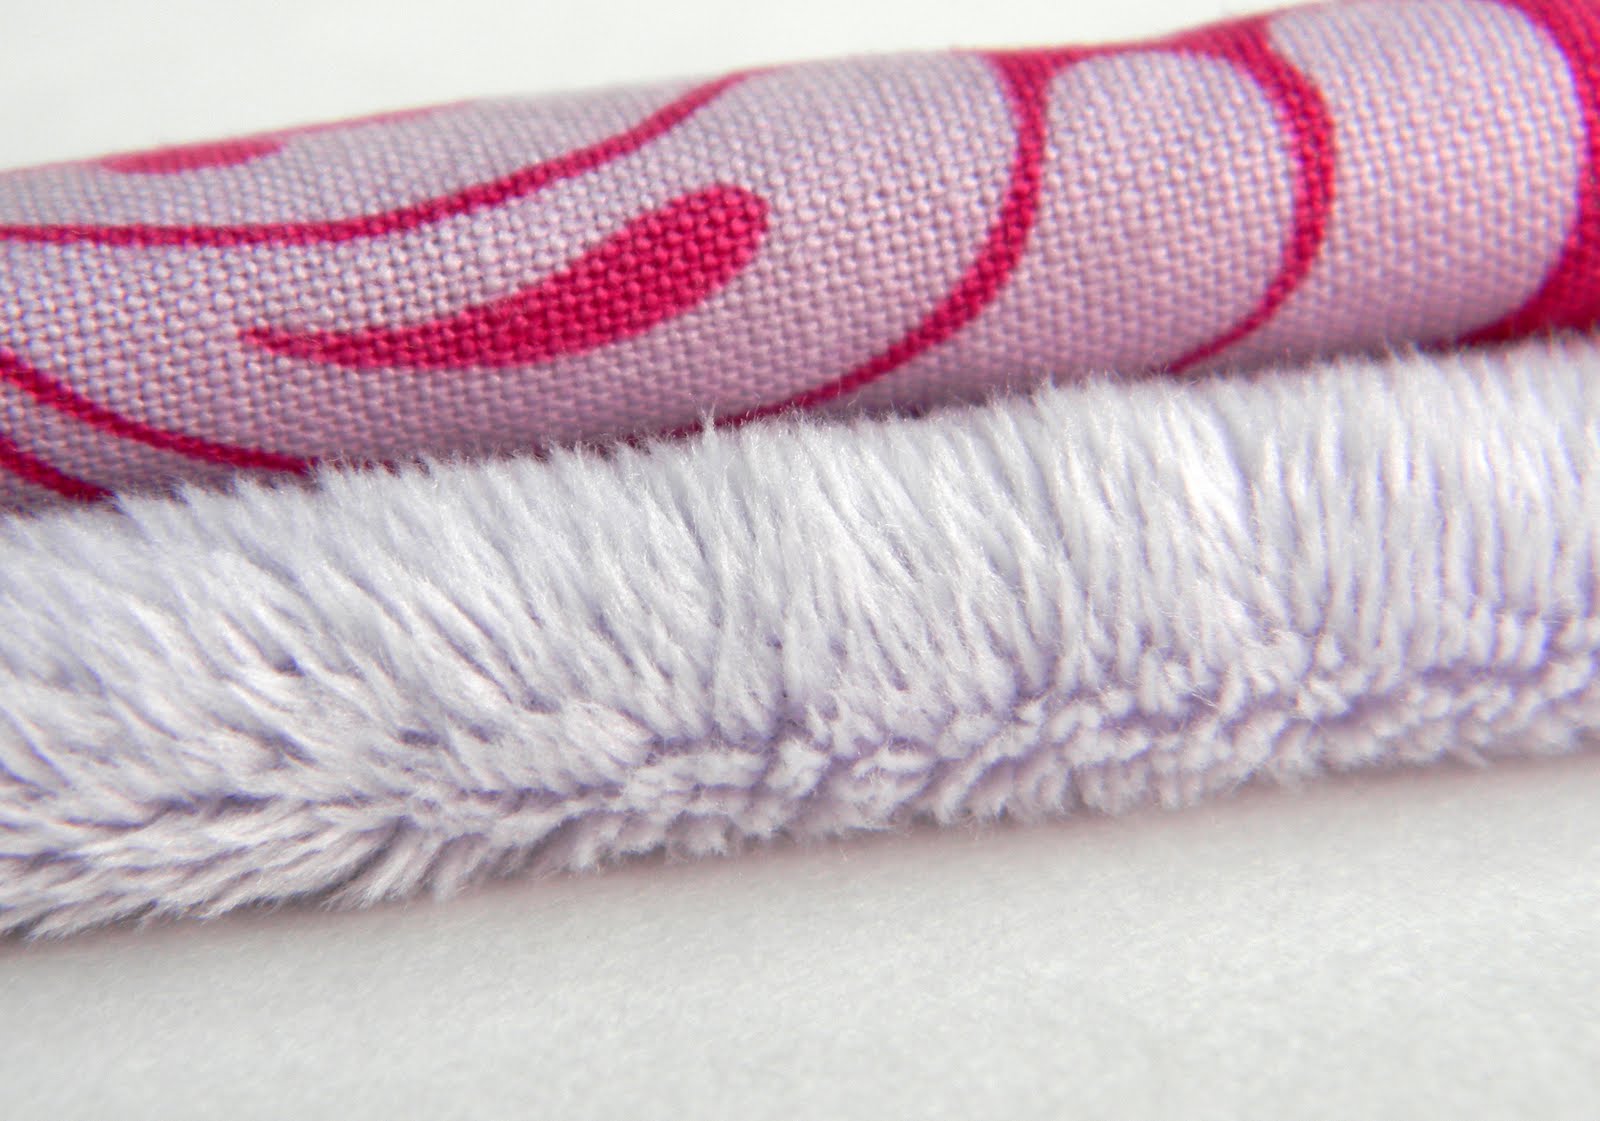
 Now gather the minky fabric and flannel. It is time to assemble all three pieces of fabric together. Layer with flannel on the bottom, then minky fabric right side up and then place the cotton fabric on top with right side down. Pin all three pieces in place.
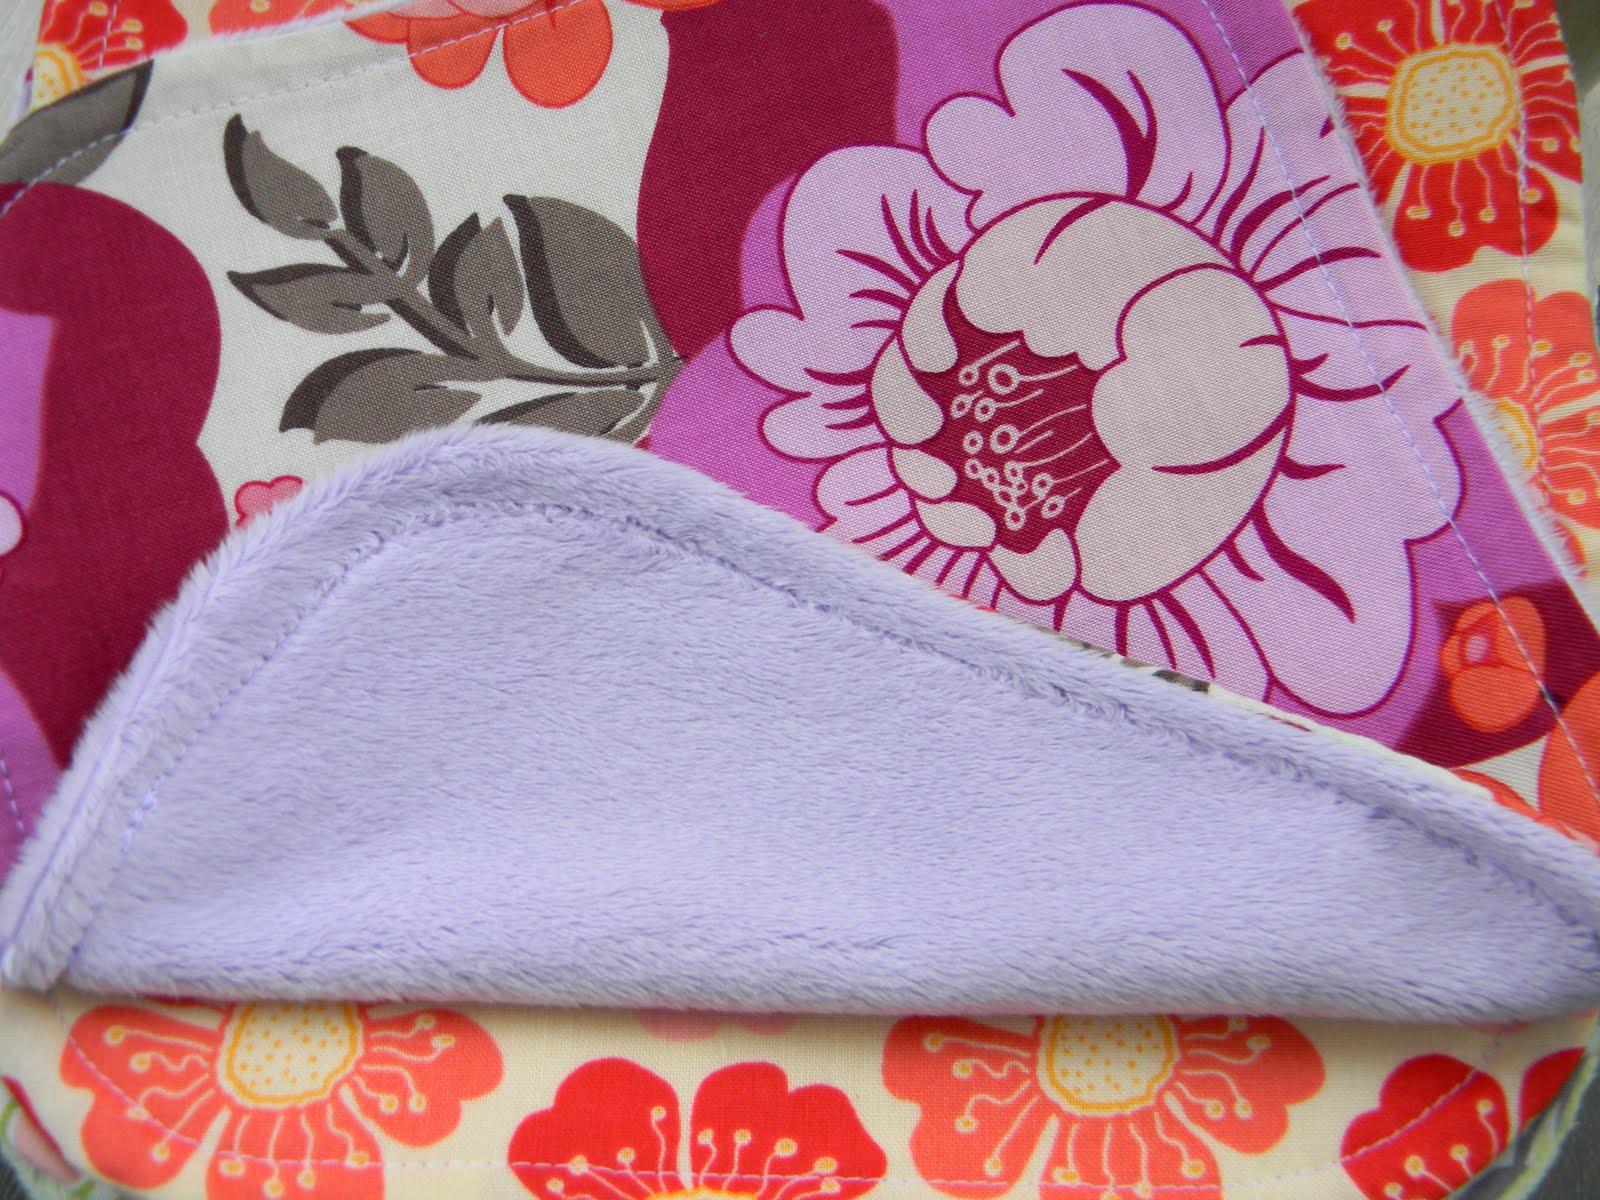
 Here is a closer look of how the fabrics should be lined up.
 Change to a zipper foot and move your needle so that it is even with the edge of your foot and will line up right against the piping. When sewing, make sure that you take your time and sew right against the edge of the piping, just make sure not to sew into the piping. You wont be able to see the piping underneath the top piece of fabric so just take your time here and always make sure the edge of your foot is right against the piping underneath. You will be able to feel where the piping is with your sewing foot. Sew all around the burp cloth, but make sure to leave a 1 1/2″ opening for turning right side out.
 Trim off the excess fabric and leave the opening a little longer then the rest of the trimmed edges. This will make the opening easier to fold in and sew shut.
 Don’t forget to use your lint roller and get rid of all the excess lint, especially when working with minky.
 Now turn right side out and iron flat.
 Now change back to your regular foot or you can just adjust your zipper foot so that you are top stitching close to the edge. Top stitch as many times as you would like. I usually top stitch mine two times. And now your finished!
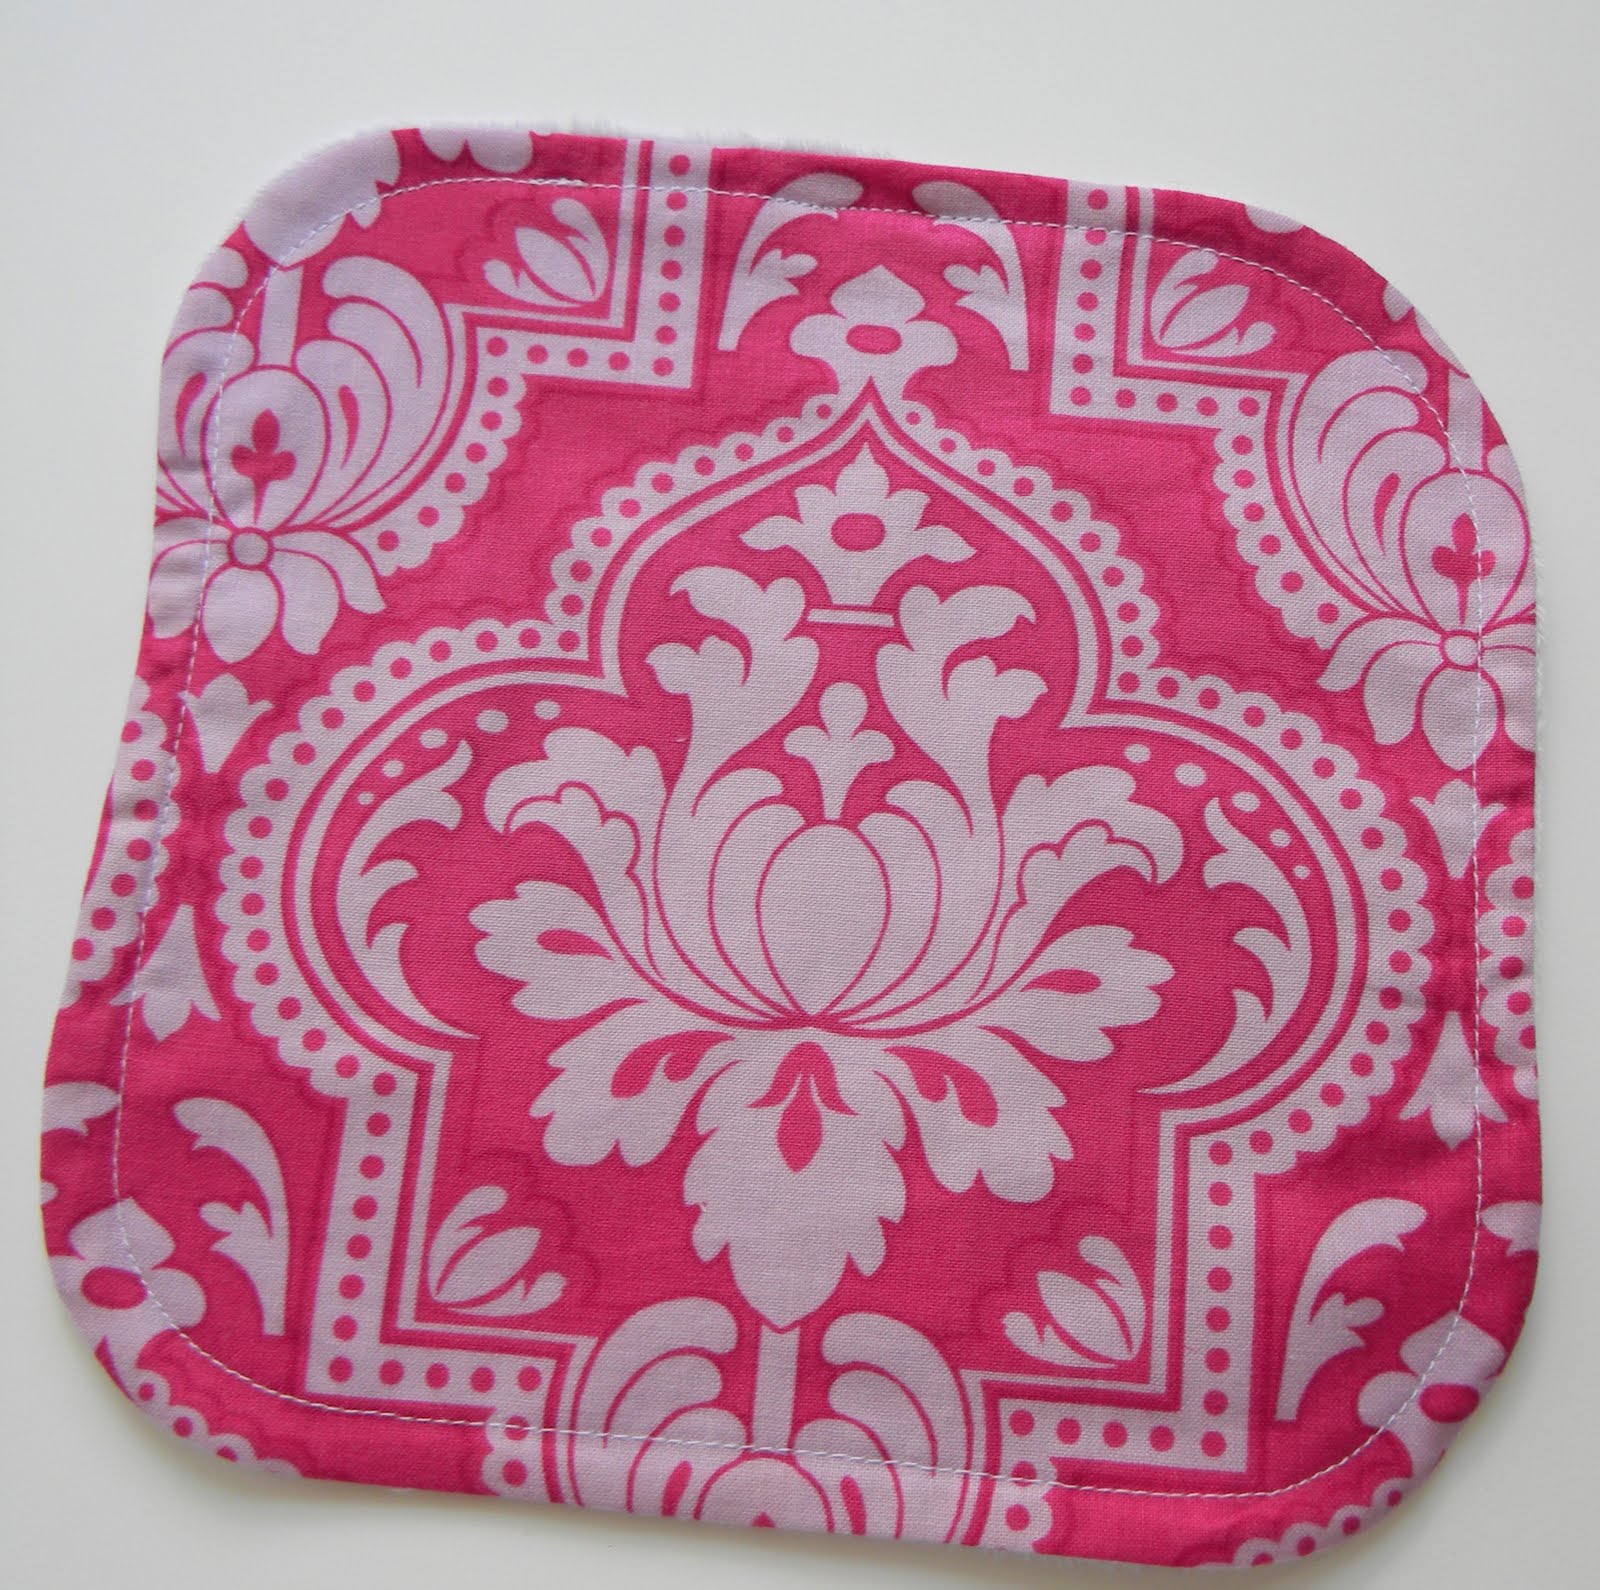
 See the pretty little piping edges? I think it gives the burp cloths a professional and clean looking edge.


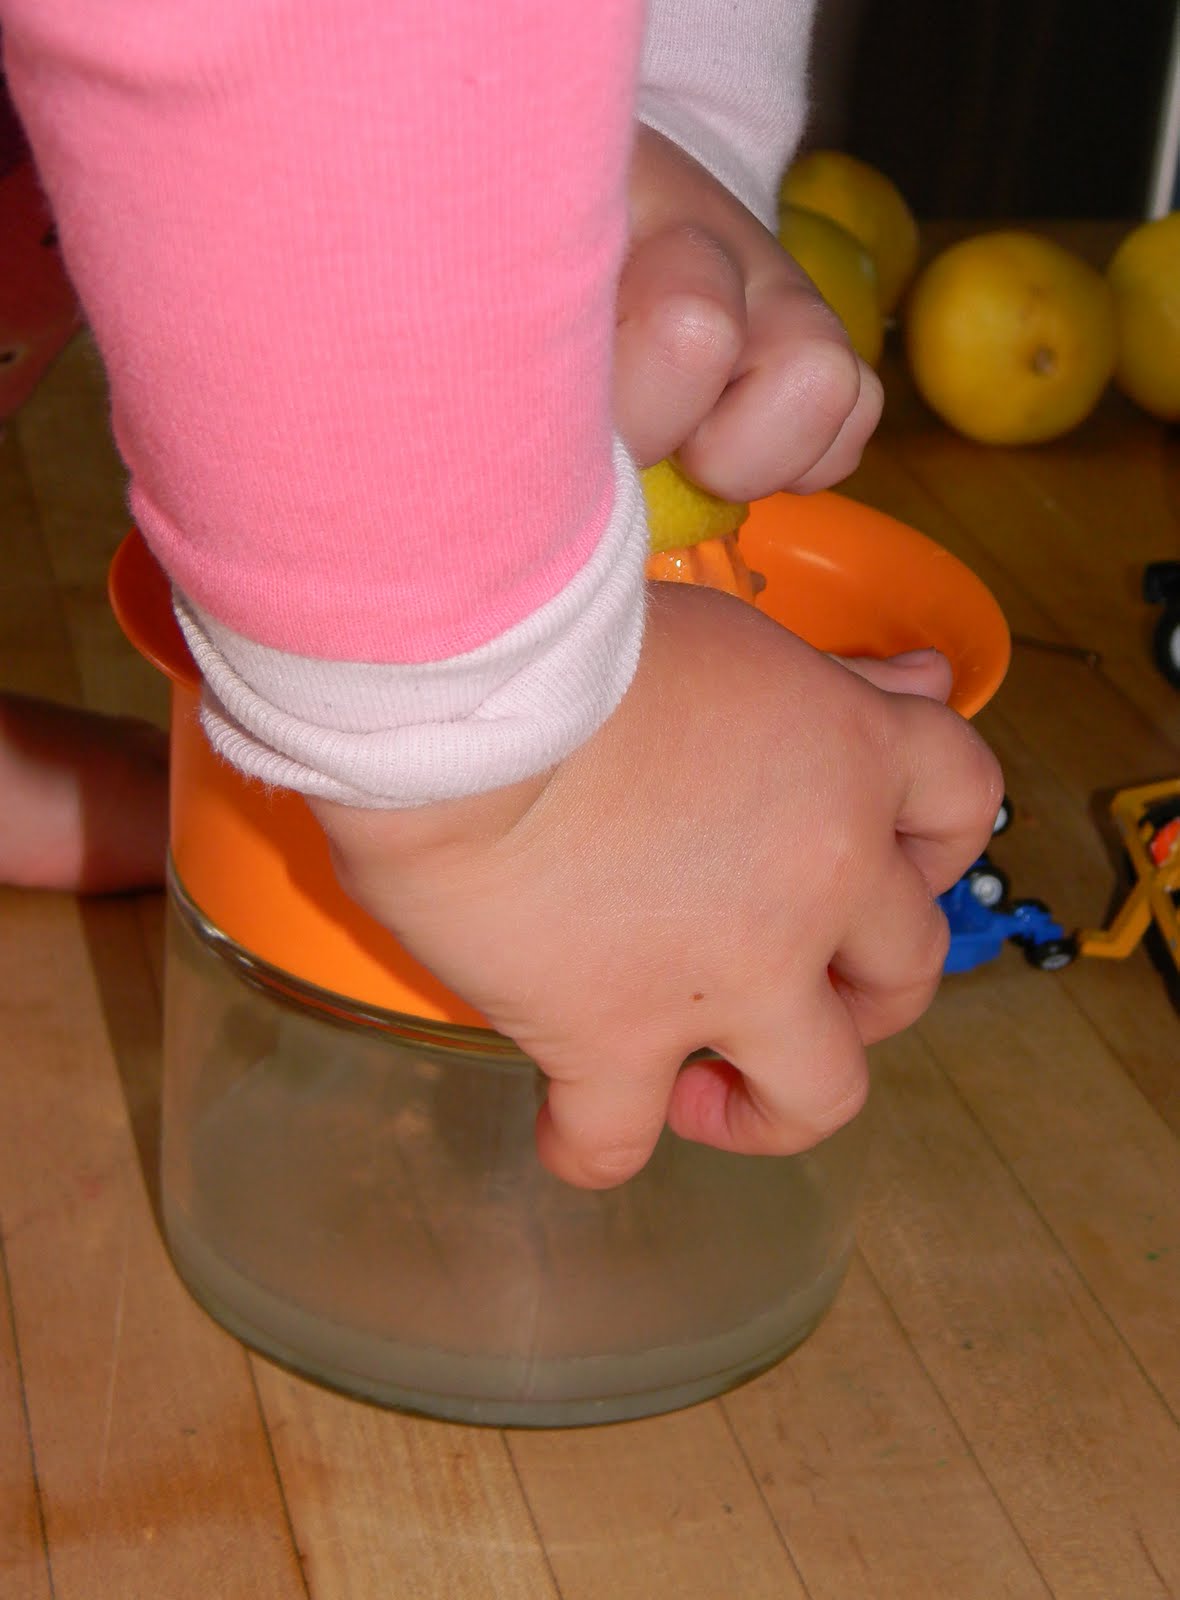
 And how excited they are after the hour long squeeze fest is over and they get to see how much juice they just made.
 Now go and embrace that camera with your kiddo’s! These are memories you never want to forget…frumpy looking and all!


