
We knew it would be happening soon, the first hard frost of the year.
 I spent most of the day yesterday picking the gardens clean.
 Which you can see have been severely neglected and was still full of fresh goodies.
  Along with lots of pumpkins, gourds and squashes.
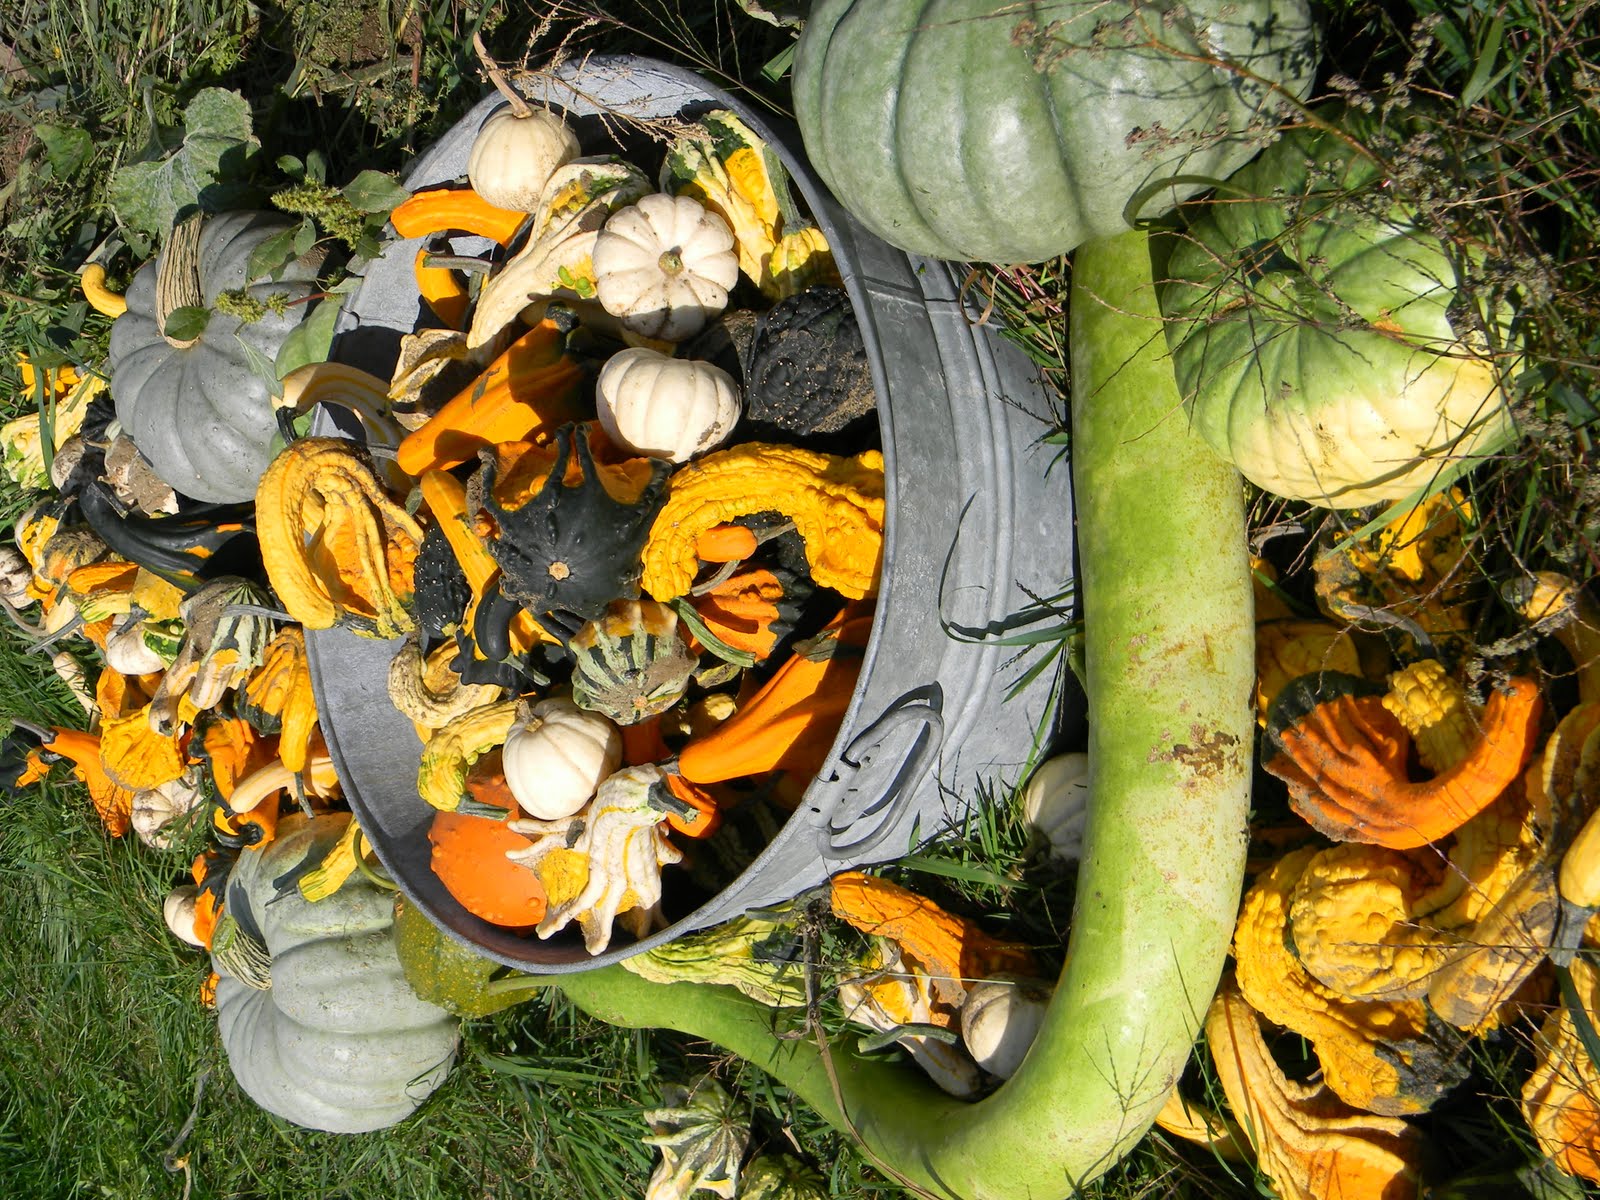 Normally picking the pumpkins is a family affair…not this year.
 This year it was a scramble to get everything out of the garden, into piles and undercover. The kiddo’s helped at times, but mostly played in the car where it was warm and full of gum and lost treasures hidden under car seats.
 Normally I would take my time and admire the beautiful pumpkins and gourds and all of their odd shapes.
 But this year was all about getting these beauties undercover.
 And safe from the frost.
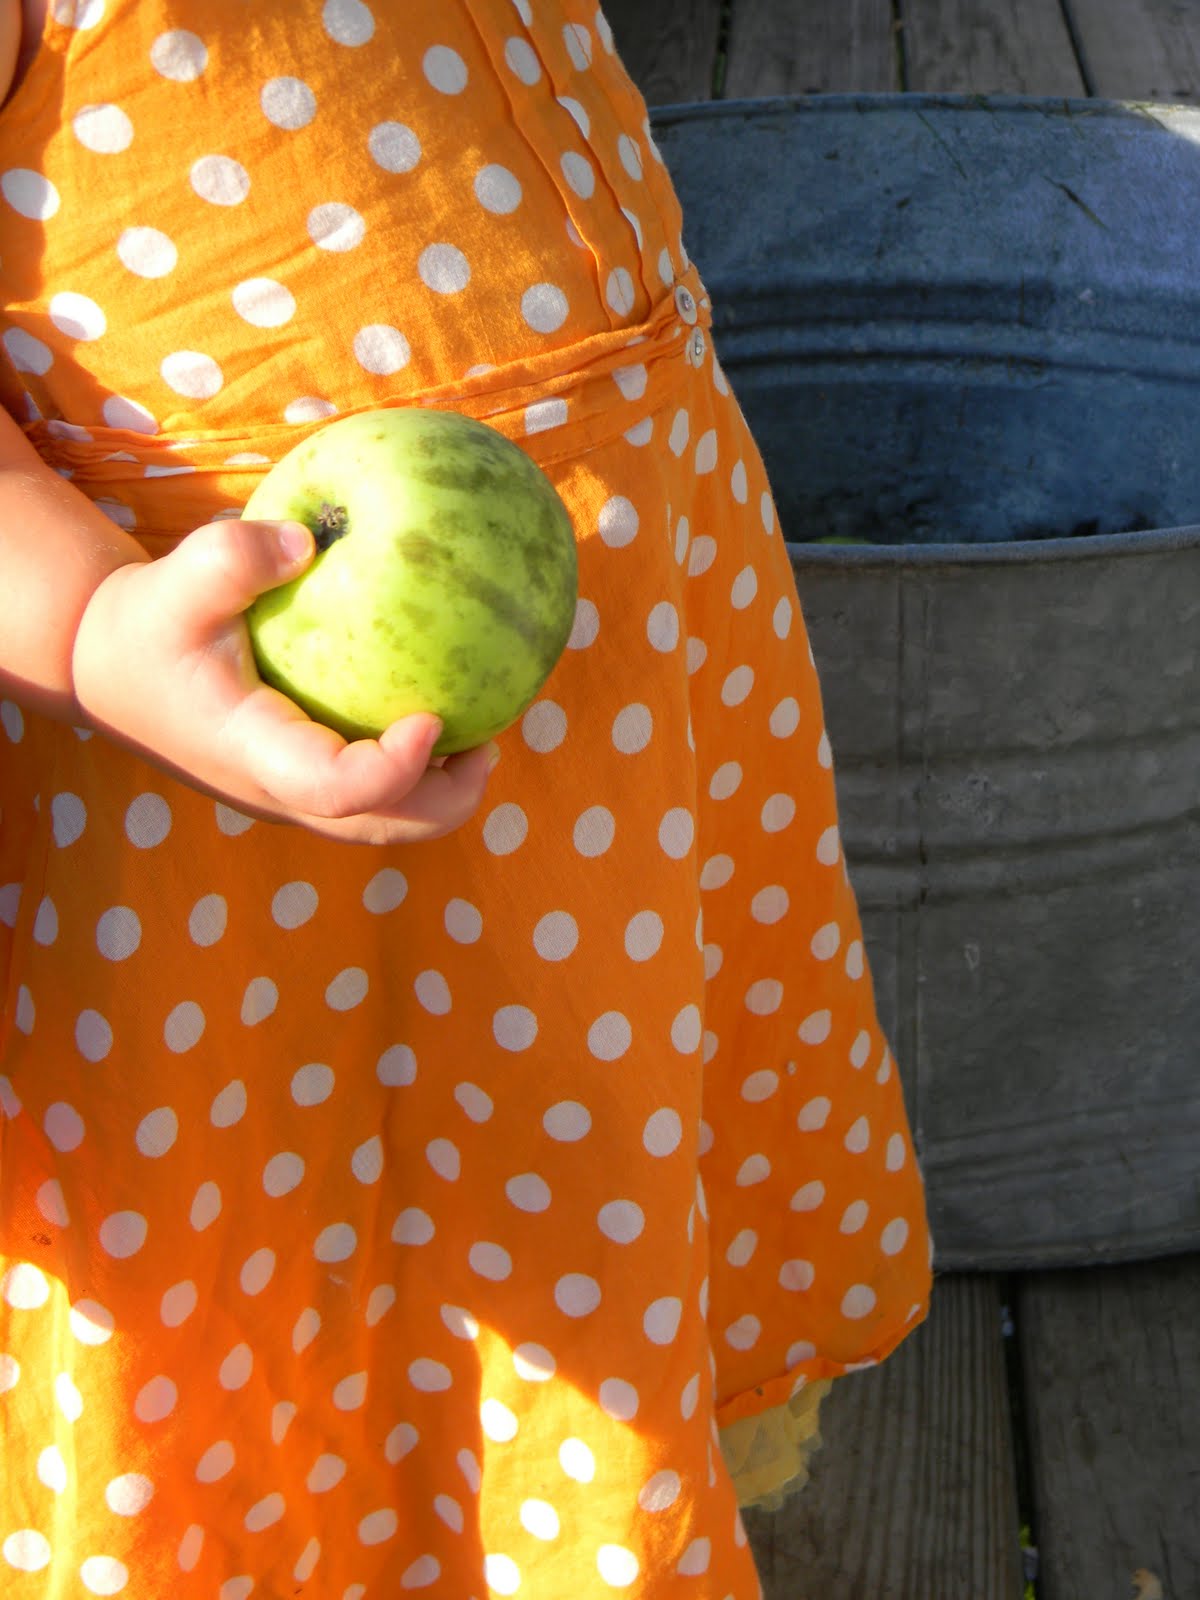
 I think the biggest pumpkin weighs a good 40-50 pounds and really wished the hubby was home to help to carry it.
 But not just because he would have been more helpful then these little hands.
 But because it would have been more fun.
 And not just a scramble.


